
So you’ve decided to embark on an exciting journey into the world of electric biking. Whether you’re looking for a thrilling ride in the great outdoors or a convenient and eco-friendly way to commute, your new e-bike is sure to be your trusted companion. But before you hit the open road, it’s important to ensure your electric steed is properly set up and ready for its first adventure. In this article, we’ll guide you through the essential steps of getting your e-bike up and running, providing you with the knowledge and confidence you need to enjoy your first ride to the fullest. From battery installation to adjusting your saddle height, let’s dive into the exciting process of setting up your e-bike for that unforgettable maiden voyage.

1. Unboxing and Assembling
1.1. Unboxing your e-bike
Congratulations on your new e-bike! The first step in getting started is unboxing it. Carefully open the packaging and ensure that all the components are present and undamaged.
1.2. Checking the contents
Once you have unboxed your e-bike, take a moment to go through the contents and make sure everything is included as listed in the user manual. This typically includes the e-bike frame, handlebars, pedals, battery, charger, and any additional accessories.
1.3. Assembling your e-bike
Now that you have confirmed that all the components are present, it’s time to assemble your e-bike. Follow the instructions provided in the user manual to securely attach the handlebars, pedals, and any other removable parts.
2. Familiarizing Yourself with the Components
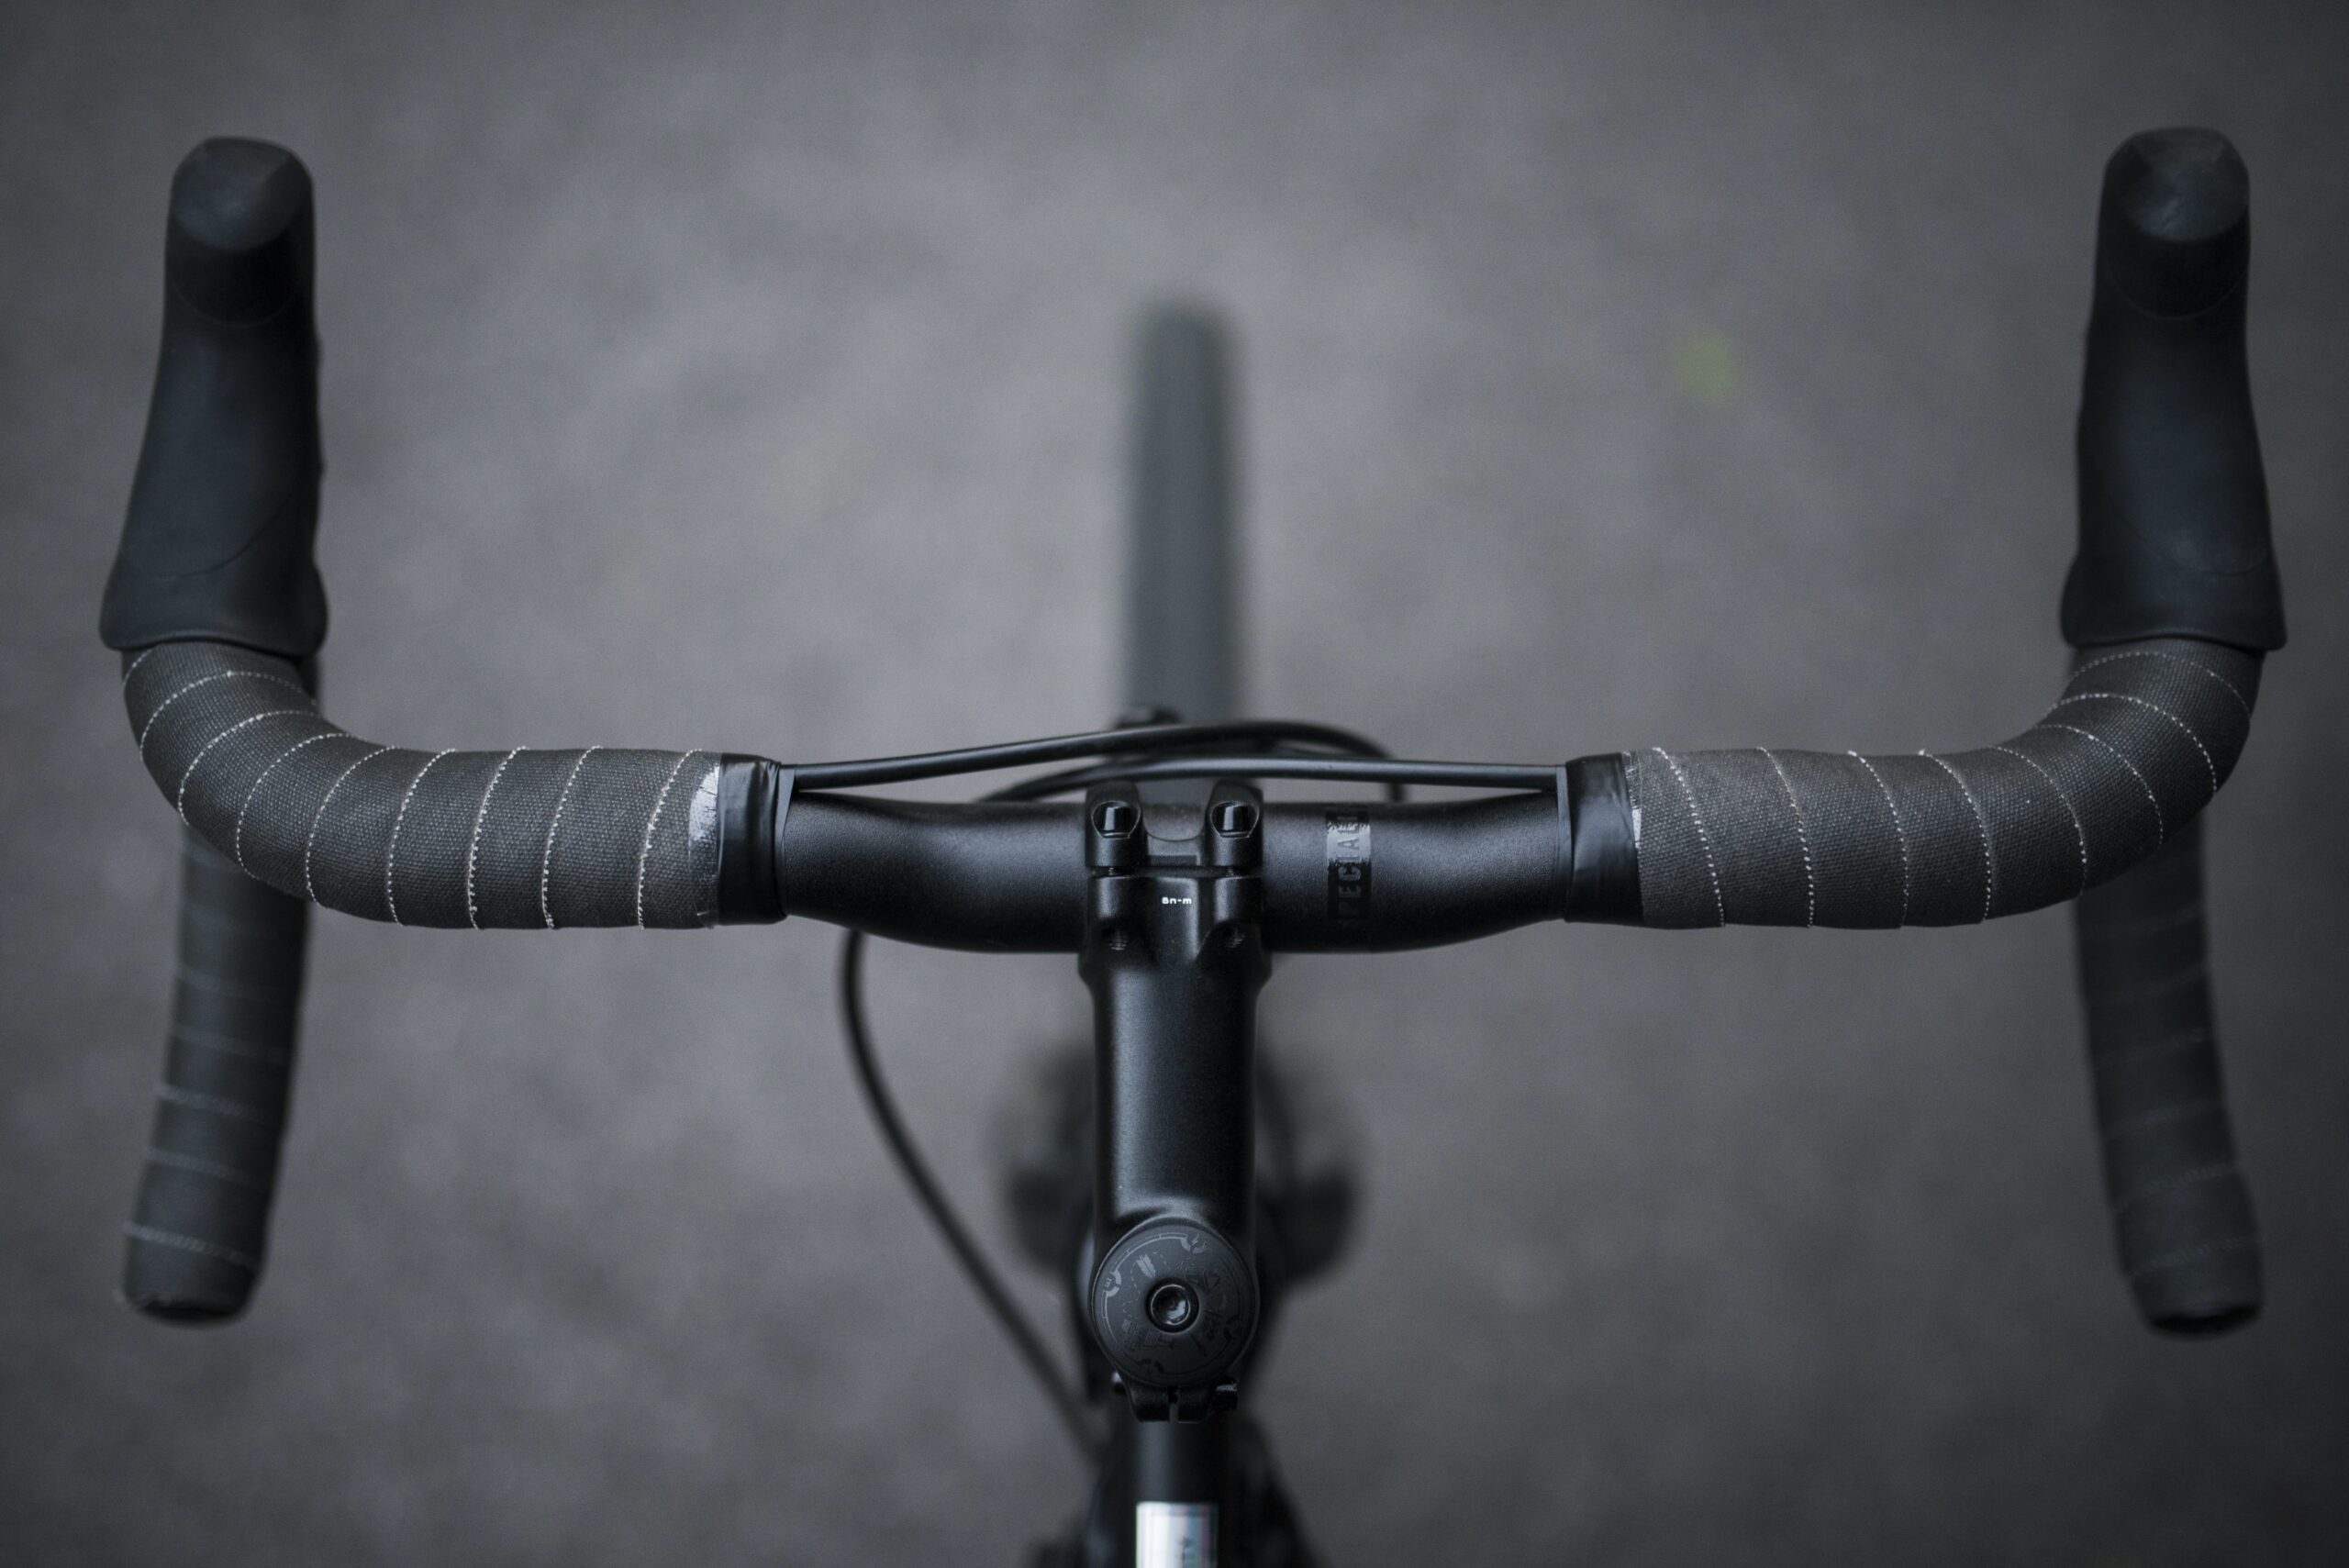
2.1. Understanding the handlebars and controls
The handlebars are an essential component of your e-bike as they house the controls for operating the bike. Take a moment to familiarize yourself with the different buttons and switches, such as the power button, mode selector, and display screen. Understanding their functions will allow you to easily control various features of your e-bike.
2.2. Identifying the brakes and gear shifter
Knowing the location and operation of the brakes and gear shifter is crucial for a smooth and safe ride. The brake levers are usually located on the handlebars, and the gear shifter is usually positioned near the handlebars or integrated into the display screen. Take some time to experiment with these controls to ensure that they are functioning properly.
2.3. Examining the pedal-assist system
The pedal-assist system is what sets an e-bike apart from a regular bicycle. It provides assistance to your pedaling, making your ride more effortless. Take a look at the different pedal-assist levels and understand how they affect the amount of assistance provided. This will allow you to choose the appropriate level based on your riding preferences and the terrain you’ll be traversing.
2.4. Getting to know the battery and charger
The battery is the powerhouse of your e-bike, providing the necessary energy to power the motor. Familiarize yourself with the location of the battery and how to securely attach and detach it from your e-bike. Additionally, understand the charging process and the specific instructions provided by the manufacturer to ensure proper and safe charging of your e-bike’s battery.


3. Adjusting the Bike to Your Preferences
3.1. Adjusting the handlebar height and angle
Every rider has their own preference when it comes to handlebar position. Take the time to adjust the handlebar height and angle to a position that feels comfortable for you. This will help reduce strain on your wrists and allow for a more enjoyable riding experience.
3.2. Setting the seat height
Having the correct seat height is crucial for maintaining proper posture and maximizing pedaling efficiency. Adjust the seat height so that when you sit on the saddle, your feet can comfortably reach the ground with a slight bend in your knees when the pedal is at its lowest position.
3.3. Ensuring proper body position
Proper body position while riding can significantly impact your comfort and control. Make sure you maintain a relaxed posture, with your back straight, elbows slightly bent, and your weight evenly distributed between the seat and the handlebars. This will allow you to react quickly to changes in the terrain and minimize fatigue.
3.4. Modifying the pedal-assist levels
Experiment with different pedal-assist levels to find the one that suits your riding style and needs. Higher levels will provide more assistance, making it easier to pedal uphill or against strong headwinds. Lower levels require more effort from you but are great for conserving battery life and getting a workout.
4. Checking and Adjusting Tire Pressure
4.1. Understanding the recommended tire pressure
Maintaining the correct tire pressure is essential for a smooth and safe ride. Check the manufacturer’s recommendations for the recommended tire pressure range. This information is typically found on the side of the tire. Riding with the correct tire pressure will ensure optimal traction, handling, and overall performance.
4.2. Using a tire pressure gauge
To accurately check your tire pressure, it is recommended to use a tire pressure gauge. This tool will give you an exact reading of the air pressure inside the tyres. Simply attach the gauge to the valve stem and read the pressure displayed.
4.3. Inflating or deflating the tires as needed
If your tire pressure is too low, use a pump to add air until it reaches the recommended pressure. On the other hand, if the pressure is too high, carefully release air using the air release valve on the tire valve stem. Finding the right tire pressure will ensure a comfortable and efficient ride.
4.4. Inspecting the tires for wear or damage
While checking the tire pressure, take the time to inspect the tires for any signs of wear or damage. Look for cuts, bulges, or excessive tread wear. If you notice any issues, it is best to replace the tires before embarking on your first ride to avoid any safety hazards.

5. Inspecting and Lubricating the Chain
5.1. Checking the chain for dirt and debris
The chain is an integral part of your e-bike’s drivetrain and requires proper care and maintenance. Inspect the chain for any dirt, debris, or signs of rust. Use a cloth or brush to remove any particles that may affect the chain’s performance.
5.2. Cleaning the chain with a brush or rag
After removing any dirt and debris, it’s time to clean the chain. Apply a chain-specific degreaser and use a brush or rag to scrub away any remaining grime. This will help prolong the life of the chain and ensure smooth operation.
5.3. Applying lubricant to the chain
Once the chain is clean and dry, apply a suitable lubricant to ensure smooth movement. Be sure to use a lubricant specifically designed for bicycle chains. Apply the lubricant evenly along the entire length of the chain, wiping off any excess with a clean cloth.
5.4. Testing the chain for smooth movement
After applying the lubricant, rotate the pedals to ensure that the chain moves smoothly. If you notice any resistance or hear any unusual noises, double-check the chain’s tension and lubrication. A properly lubricated and tensioned chain is crucial for efficient power transfer and a quiet ride.
6. Testing the Brakes and Gears
6.1. Squeezing the brake levers to check responsiveness
Brakes are an essential safety feature of any e-bike. To ensure they are functioning properly, squeeze the brake levers and check for responsiveness. The brakes should engage smoothly and bring the bike to a complete stop without any excessive effort.
6.2. Shifting through the gears to ensure smooth operation
If your e-bike has gears, take the time to shift through each gear and ensure smooth and precise shifting. Pedal while shifting to make sure the chain moves smoothly from one gear to another without skipping or getting stuck. If you experience any issues, consider having the gears professionally adjusted.
6.3. Adjusting the brake pads or cables if necessary
If you find that the brakes are not engaging properly or the gears are not shifting smoothly, it may be necessary to adjust the brake pads or cables. Consult the user manual for instructions on how to make these adjustments, or seek the assistance of a professional bike mechanic if needed.

7. Charging the Battery
7.1. Reading the manufacturer’s instructions
Before charging your e-bike’s battery, thoroughly read the manufacturer’s instructions. They will provide specific details on the charging process, including the recommended charging time and any safety precautions.
7.2. Connecting the charger to the battery
Once you are familiar with the charging process, connect the charger to the battery following the manufacturer’s instructions. Make sure the connection is secure to prevent any accidental disconnections during the charging process.
7.3. Monitoring the charging process
While the battery is charging, keep an eye on the charging progress. Most e-bike batteries have an indicator light or display that shows the current charging status. This will help you ensure that the battery is charging properly and allow you to plan your ride accordingly.
7.4. Disconnecting the charger when fully charged
Once the battery is fully charged, disconnect the charger from the battery. It is important not to overcharge your e-bike’s battery, as it can lead to decreased overall battery life. Always follow the manufacturer’s instructions regarding charging times and disconnect the charger when the battery is fully charged.
8. Planning Your First Ride
8.1. Choosing a suitable route for beginners
When planning your first e-bike ride, consider choosing a route that is suitable for beginners. Look for designated bike paths or quiet residential areas with minimal traffic. Starting in a low-traffic area will help build your confidence and allow you to focus on familiarizing yourself with the e-bike’s controls and handling.
8.2. Checking the weather and road conditions
Before heading out on your first ride, it is important to check the weather and road conditions. Avoid riding in extreme weather conditions, such as heavy rain or strong winds, as they can affect your safety and overall riding experience. Additionally, be aware of any road closures or construction work that may impact your chosen route.
8.3. Informing others about your ride plans
For safety purposes, let someone know about your ride plans. Share your intended route, estimated duration, and expected time of return with a friend or family member. In case of any unforeseen events, this will help ensure that someone is aware of your whereabouts and can provide assistance if needed.
8.4. Packing necessary accessories and safety gear
Before setting off on your first e-bike ride, make sure you have all the necessary accessories and safety gear. This may include a fitted helmet, reflective clothing, lights, and any additional gear like a lock or pump. Being prepared will help keep you safe and allow you to enjoy your ride to the fullest.

9. Safety Precautions
9.1. Wearing a properly fitting helmet
One of the most important safety precautions you can take is wearing a properly fitting helmet. Ensure that your helmet is snug but comfortable, with the chin strap securely fastened. A helmet can protect you in the event of a fall or collision, so never underestimate its importance.
9.2. Using bright lights and reflectors for visibility
To enhance your visibility to other road users, it is recommended to use bright lights and reflective materials on your e-bike. Install front and rear lights, and consider using reflective tape or clothing to make yourself more visible, especially when riding at dusk or in low-light conditions.
9.3. Observing traffic rules and signals
As an e-bike rider, you share the road with other vehicles and pedestrians. It is important to observe all traffic rules and signals, including stopping at red lights and stop signs, using hand signals for turning, and yielding to pedestrians. Respecting traffic laws will help ensure your safety and the safety of those around you.
9.4. Riding defensively and being aware of surroundings
When riding your e-bike, always be aware of your surroundings and ride defensively. Keep an eye out for potential hazards such as potholes, parked cars, or unpredictable pedestrians. Anticipate the actions of other road users and be prepared to react accordingly. Being attentive and cautious will minimize the likelihood of accidents.
10. Enjoying Your First E-Bike Ride
10.1. Starting slowly and getting comfortable with the controls
As you embark on your first e-bike ride, start slowly and take your time to get comfortable with the controls. Practice accelerating, braking, and shifting gears until you feel confident in their operation. Gradually increase your speed and distance as you become more familiar with your e-bike.
10.2. Using the pedal-assist system effectively
Make the most of your e-bike’s pedal-assist system by understanding how it works and using it effectively. Experiment with different pedal-assist levels, adjusting them to match your riding conditions and preferences. The pedal-assist system will make your ride more enjoyable and allow you to tackle challenging terrain with ease.
10.3. Enjoying the advantages of e-biking
As you ride your e-bike, you will begin to experience the many advantages it offers. Enjoy the feeling of effortlessly cruising up hills, the extra speed provided by the motor, and the overall fun and freedom of electric biking. Embrace the unique riding experience and savor the benefits of owning an e-bike.
10.4. Reflecting on the experience and making adjustments if necessary
After your first e-bike ride, take some time to reflect on your experience. Consider what went well and what aspects you may want to improve upon. If you encounter any issues or discomfort during the ride, make the necessary adjustments, such as tweaking your bike’s setup or seeking professional assistance. Continuous improvement will help you get the most out of your e-biking journey.
By following these steps and taking the time to set up your e-bike properly, you’ll be well-prepared to embark on your first ride. Remember to prioritize safety, familiarize yourself with the controls, and enjoy the unique experience that e-biking offers. Happy riding!
