
Whether you’re a seasoned e-bike rider or just starting out, keeping your bike’s brakes in top-notch condition is crucial for a safe and enjoyable ride. That’s why our maintenance guide, “Inspecting and Replacing E-Bike Brake Pads: Maintaining effective braking,” is here to help. This comprehensive resource provides easy-to-follow guidelines and expert advice on inspecting and replacing brake pads for maximum effectiveness. With step-by-step instructions and helpful product recommendations, we’ll show you how to keep your e-bike’s braking system in top shape, ensuring not only better performance but also a longer lifespan for your bike. So whether you rely on your e-bike for daily commutes, off-road adventures, or leisurely weekend jaunts, this guide will equip you with the knowledge and skills to maintain a safe and reliable ride.
Inspecting E-Bike Brake Pads
As an e-bike owner, it is important to regularly inspect and maintain your brake pads to ensure safe and effective braking. In this guide, we will walk you through the steps to properly inspect and replace e-bike brake pads. Let’s get started!

Tools needed for inspection
Before diving into the inspection process, let’s gather the necessary tools. You will need the following:
- Brake pad wear indicator
- Torque wrench
- Allen key set
With these tools in hand, you’ll be fully prepared to inspect your e-bike brake pads.
Steps to inspect e-bike brake pads
Inspecting your e-bike brake pads is a relatively simple process. Just follow these steps:
1. Prepare the bike
Before inspecting the brake pads, make sure you park your e-bike on a level surface and secure it. This will provide a stable base for your inspection.
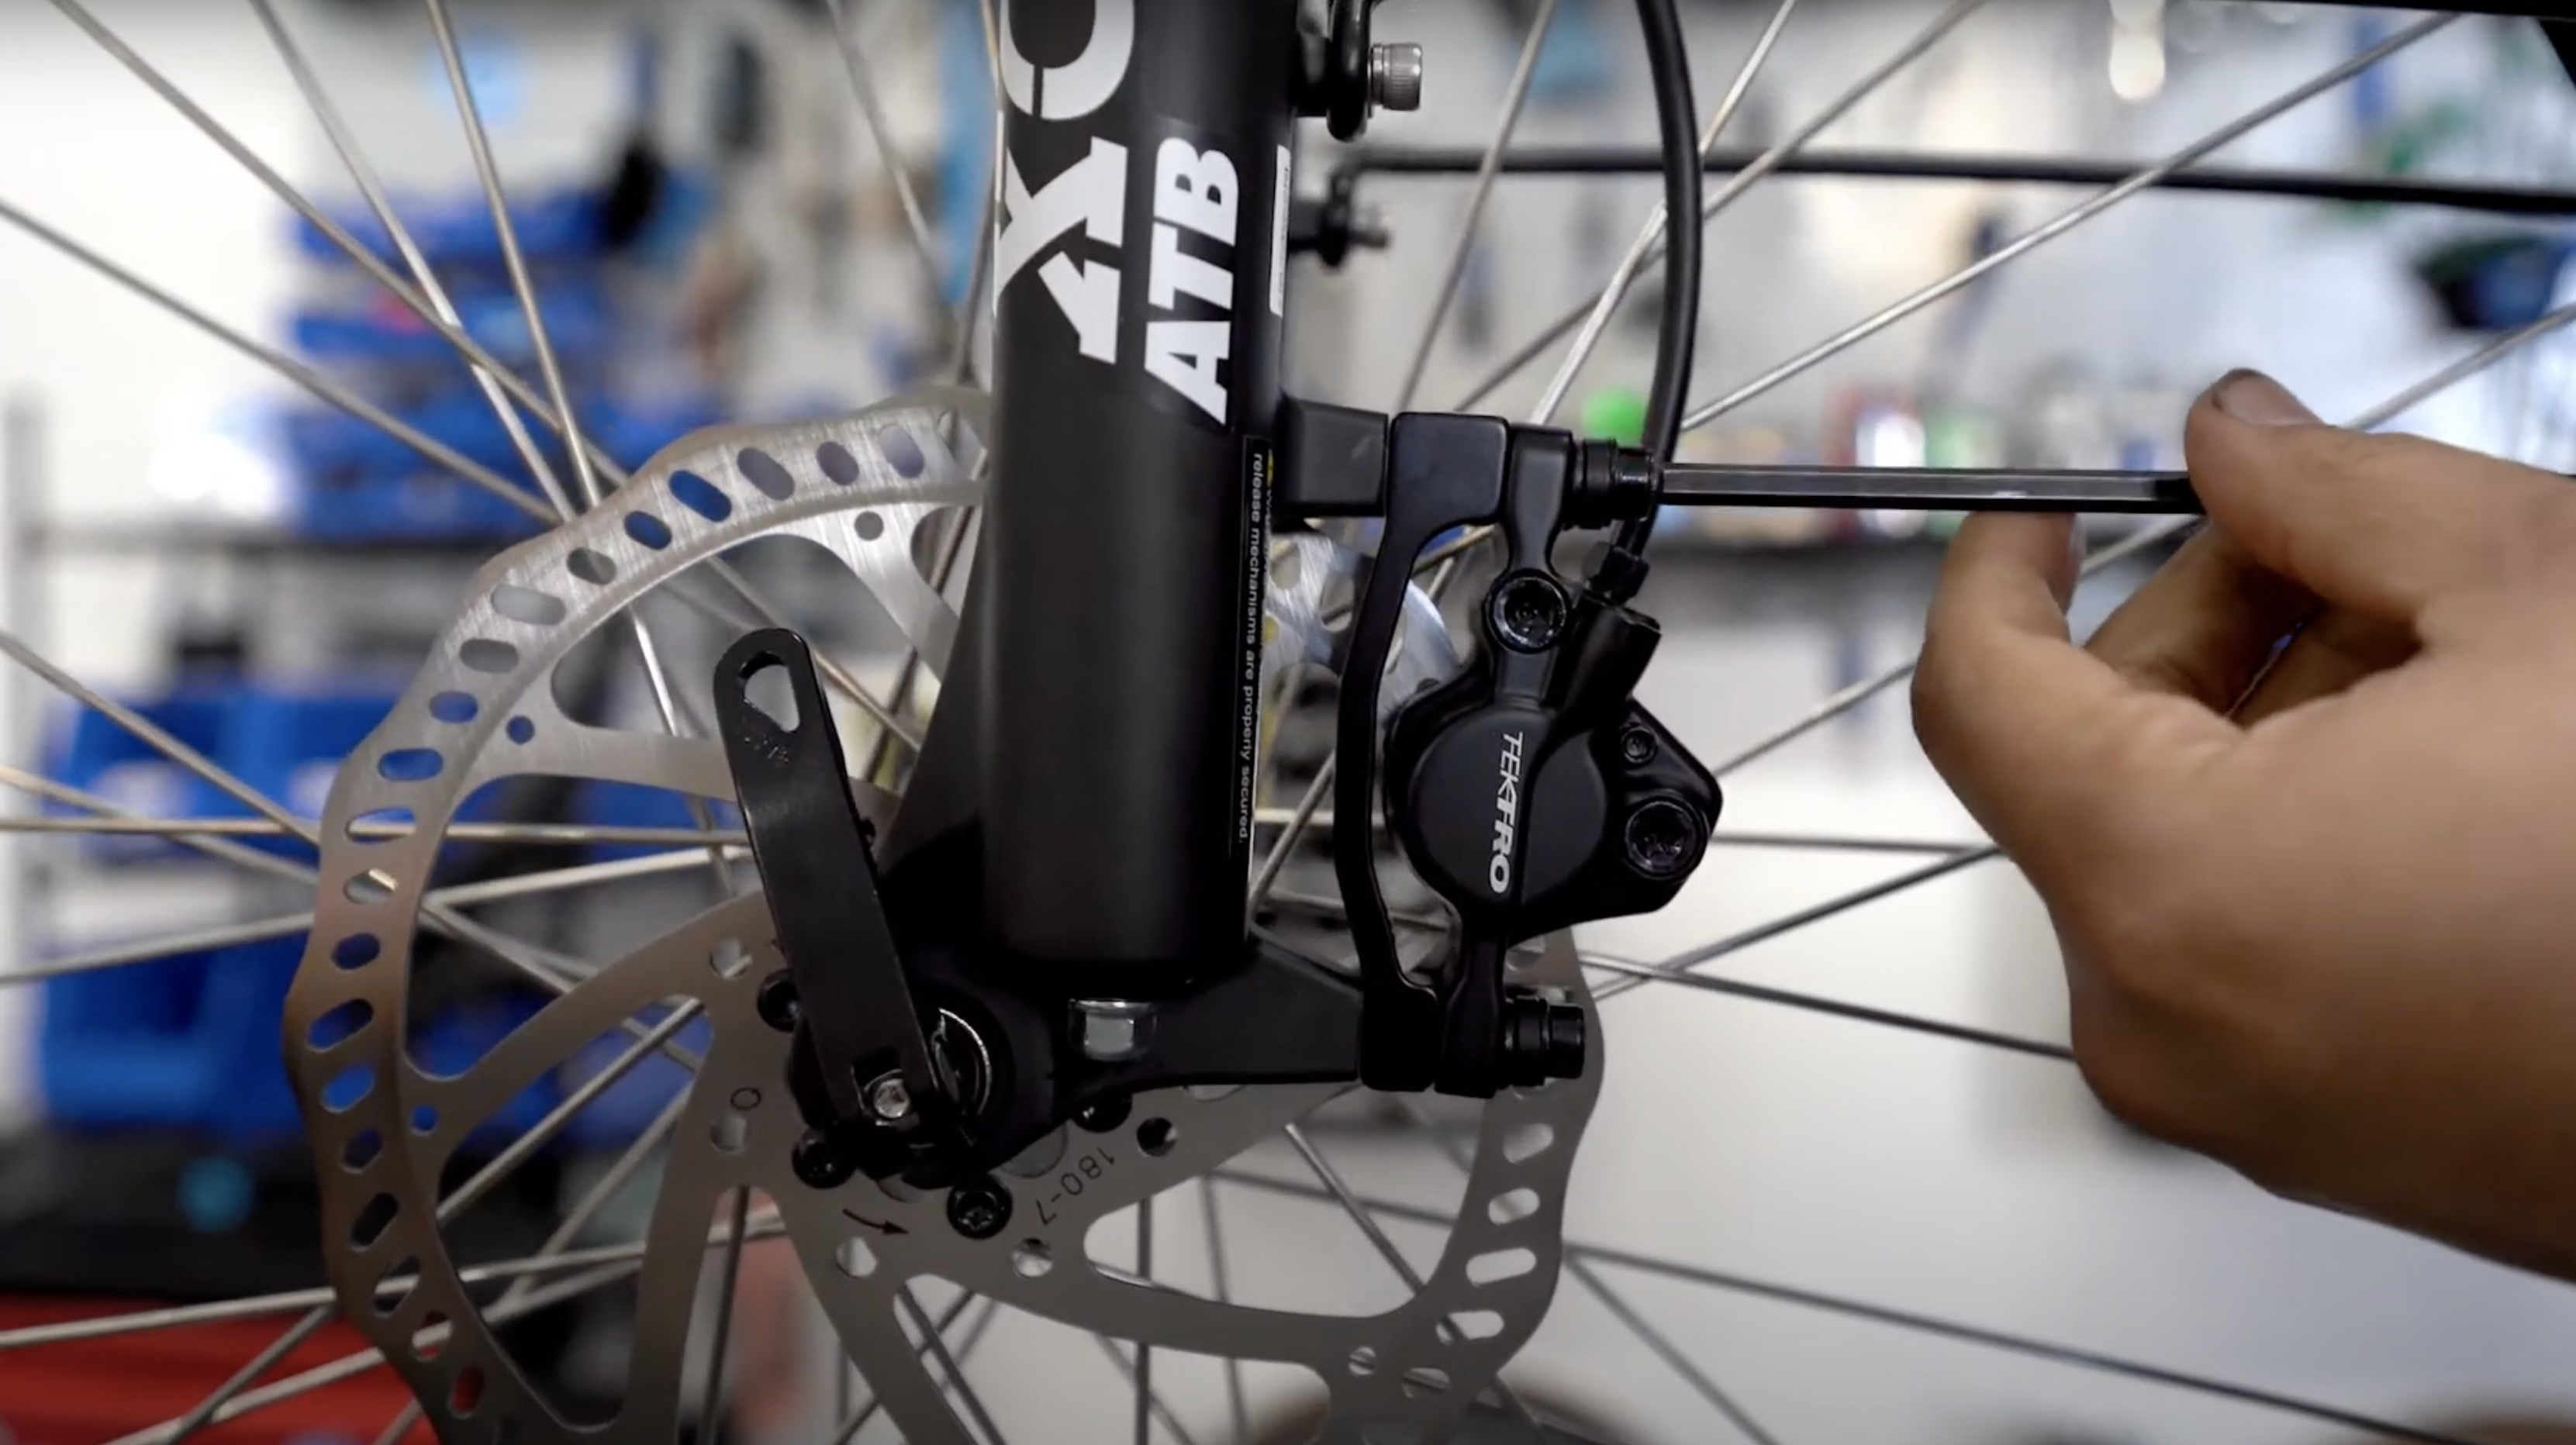
2. Remove the brake pads
Using the appropriate Allen key, carefully remove the bolts that hold the brake pads in place. Gently slide the brake pads out of their housing.
3. Look for signs of wear
With the brake pads removed, visually inspect them for signs of wear. Look for any uneven wear patterns or excessive thinning of the brake pad material. If you have a brake pad wear indicator, check for its activation. This indicator is a small metal tab that contacts the rotor when the pads wear down to a certain level.


Signs of worn brake pads
Now that you know how to inspect your e-bike brake pads, it’s important to understand the signs of worn brake pads. Here are a few key indicators:
1. Squeaking or squealing noise
If you notice a high-pitched squeaking or squealing sound when you apply the brakes, it could be a sign that your brake pads are worn down and due for replacement.
2. Reduced braking performance
If you find that your e-bike takes longer to come to a complete stop or if you need to apply more pressure on the brake levers for effective braking, it may be time to replace your brake pads.
3. Visible wear indicators
Many brake pads come with wear indicators, such as small holes or lines on the surface. If these indicators are no longer visible or the surface appears significantly worn, it’s a clear sign that your brake pads need to be replaced.
Replacing E-Bike Brake Pads
Now that you have inspected your e-bike brake pads and determined that they need to be replaced, let’s guide you through the process of replacing them.
Tools needed for replacement
To replace your e-bike brake pads, gather the following tools:
- New brake pads
- C-clip or retaining pin (depending on your brake system)
- Brake pad spacer (if required)
Having these tools on hand will make the brake pad replacement process much smoother.

Steps to replace e-bike brake pads
Replacing your e-bike brake pads is a straightforward process. Follow these steps:
1. Prepare the bike
As with the inspection process, start by parking your e-bike on a level surface and securing it.
2. Remove the old brake pads
Using the Allen key, carefully remove the bolts that hold the old brake pads in place. Take note of how the old pads are positioned so that you can install the new ones correctly.
3. Install the new brake pads
Take the new brake pads and align them with the brake caliper. Ensure that they are inserted correctly and secure them in place using the bolts and any necessary retention mechanism, such as a C-clip or retaining pin. If your brake system requires it, insert a brake pad spacer to maintain proper spacing between the pads.
Congratulations! You have successfully replaced your e-bike brake pads.
Choosing the right brake pads
When selecting new brake pads for your e-bike, there are a few factors to consider.
1. Consider e-bike type
Different e-bike types, such as mountain bikes or road bikes, have specific braking needs. Make sure to choose brake pads that are suitable for your e-bike’s specific type and intended use.
2. Determine pad material
Brake pads are available in different materials, such as organic, sintered, or semi-metallic. Each material has its own characteristics, including performance, durability, and noise level. Consider your riding style and preferences when selecting the pad material.
3. Check compatibility
Ensure that the brake pads you choose are compatible with your e-bike’s braking system. Different e-bike models may have specific requirements, so double-check the compatibility before making a purchase.
Maintaining Effective Braking
Regular maintenance is key to maintaining effective braking on your e-bike. Here are a couple of essential maintenance tasks to keep your brake pads in top shape.

Cleaning brake pads
Over time, brake pads can accumulate dirt and debris, reducing their effectiveness. To clean your brake pads, follow these steps:
- Using a soft brush, gently remove any loose dirt or debris from the brake pads.
- Dampen a clean cloth with isopropyl alcohol and wipe both sides of the brake pads to remove any residue or contaminants.
Regularly cleaning your brake pads will help maintain optimal braking performance.
Adjusting brake pads
Proper alignment of your brake pads is crucial for effective braking. Here’s how to adjust them:
- Loosen the bolts holding the brake pads in place.
- Squeeze the brake lever to engage the brake caliper.
- While holding the brake lever, tighten the bolts to secure the brake pads in the desired position.
- Release the brake lever and check for proper alignment. Adjust if necessary.
Regularly check and adjust your brake pads to ensure they are aligned properly for efficient braking.

Checking brake pad alignment
To ensure optimal braking performance, it’s important to regularly check the alignment of your brake pads. Here are two methods to check the alignment:
Visual inspection
Visually inspect the gap between the brake pads and the rotor. There should be an even space on both sides of the rotor. If one pad is closer or touching the rotor, it may indicate misalignment.
Toe-in adjustment
To adjust the toe-in of your brake pads, follow these steps:
- Loosen the bolts holding the brake pads in place.
- Squeeze the brake lever to engage the brake caliper.
- While holding the brake lever, carefully align the leading edges of the brake pads slightly inward in relation to the rotor.
- Tighten the bolts to secure the brake pads in the adjusted position.
Perform a test ride to ensure proper alignment and smooth braking. Repeat the process if necessary.
Maintaining effective braking is essential for a safe and enjoyable e-bike riding experience. Regularly clean, inspect, and adjust your brake pads to ensure optimal performance on every ride.
Tools for Inspecting and Replacing E-Bike Brake Pads
To effectively inspect and replace your e-bike brake pads, it’s important to have the right tools on hand. Here are the essential tools you’ll need:
Brake pad wear indicator
A brake pad wear indicator is a valuable tool to help determine when your brake pads need replacement. It visually indicates the level of wear on the brake pads, helping you to stay ahead of any potential braking issues.
Torque wrench
A torque wrench is crucial for properly tightening the bolts on your brake pads. It allows you to tighten the bolts to the manufacturer’s recommended torque, ensuring a secure and safe installation.
Allen key set
Allen keys, also known as hex keys, are necessary for removing and installing the bolts that hold your brake pads in place. Having a complete set of Allen keys ensures that you’ll have the right size for any bolts you encounter during the process.
Having these tools readily available will make inspecting and replacing your e-bike brake pads a breeze.

Steps to Inspect E-Bike Brake Pads
Inspecting your e-bike brake pads is an important maintenance task that should be performed regularly. Here are the steps to successfully inspect your brake pads:
1. Prepare the bike
To begin the inspection process, park your e-bike on a level surface and ensure that it is secured properly. This will provide a stable base for your inspection.
2. Remove the brake pads
Using the appropriate size Allen key, carefully remove the bolts that hold the brake pads in place. Gently slide the brake pads out of their housing, taking care not to damage any other components.
3. Look for signs of wear
With the brake pads removed, visually inspect them for signs of wear. Look for any uneven wear patterns or excessive thinning of the brake pad material. If you have a brake pad wear indicator, check for its activation. This indicator is a small metal tab that contacts the rotor when the pads wear down to a certain level. If the wear indicator is activated or you notice significant wear, it is time to replace your brake pads.
Regularly inspecting your e-bike brake pads will help ensure your safety on the road and prevent any potential braking issues.
Signs of Worn Brake Pads
Recognizing the signs of worn brake pads is crucial for maintaining safe braking performance. Here are some common signs that indicate your brake pads need to be replaced:
1. Squeaking or squealing noise
If you hear a high-pitched squeaking or squealing sound when you apply the brakes, it is likely a sign that your brake pads are worn down. This noise occurs when the metal backing plate of the brake pad comes into contact with the rotor.
2. Reduced braking performance
If you find that your e-bike takes longer to come to a complete stop or requires more force on the brake levers to achieve the desired braking effect, it is a clear indication that your brake pads have worn down. Reduced braking performance can compromise your safety and should be addressed promptly.
3. Visible wear indicators
Many brake pad manufacturers include wear indicators on their pads. These indicators may be in the form of small holes, lines, or notches on the surface of the brake pads. If these indicators are no longer visible or the surface of the pads appears significantly worn, it is time to replace them.
Regularly checking for these signs of worn brake pads will help ensure your e-bike’s braking system remains in optimal condition.
Tools for Replacing E-Bike Brake Pads
When it comes time to replace your e-bike brake pads, having the right tools on hand will make the process smoother and more efficient. Here are the essential tools you’ll need:
New brake pads
To replace your worn brake pads, you’ll need a set of new brake pads that are compatible with your e-bike’s braking system. Make sure to choose pads that are suitable for your specific e-bike type and riding style.
C-clip or retaining pin
Depending on your brake system, you may need a C-clip or a retaining pin to hold the brake pads in place. Check your e-bike’s manual or consult a professional if you are unsure which retention mechanism is required for your specific brake system.
Brake pad spacer
Some e-bike brake systems require the use of a brake pad spacer to maintain proper spacing between the brake pads. If your brake system requires one, make sure to have a brake pad spacer on hand.
By having these tools ready before starting the brake pad replacement process, you’ll be well-equipped to successfully complete the task.
Steps to Replace E-Bike Brake Pads
When it’s time to replace your worn e-bike brake pads, follow these steps:
1. Prepare the bike
As with the inspection process, start by parking your e-bike on a level surface and securing it properly. This will provide a stable base for the brake pad replacement process.
2. Remove the old brake pads
Using the appropriate size Allen key, carefully remove the bolts that hold the old brake pads in place. Take note of how the old pads are positioned, as this will help you install the new pads correctly.
3. Install the new brake pads
Take the new brake pads and align them with the brake caliper. Ensure that they are inserted correctly and secure them in place using the bolts and any necessary retention mechanism, such as a C-clip or retaining pin. If your brake system requires it, insert a brake pad spacer to maintain proper spacing between the pads.
Once the new brake pads are securely installed, give them a couple of gentle squeezes to seat them properly. Double-check the alignment and adjust if necessary.
Congratulations! You have successfully replaced the brake pads on your e-bike, ensuring safe and effective braking performance.
Choosing the Right Brake Pads
When it comes to choosing the right brake pads for your e-bike, consider the following factors:
1. Consider e-bike type
Different e-bike types, such as mountain bikes or road bikes, have specific braking needs. Make sure to choose brake pads that are suitable for your e-bike’s specific type and intended use. The braking demands of off-road trails may differ from those of paved roads, so take the terrain into account when selecting brake pads.
2. Determine pad material
Brake pads are available in different materials, each with its own characteristics. Common pad materials include organic, sintered, and semi-metallic compounds. Organic pads are quiet and provide good initial bite but may wear faster. Sintered pads offer excellent durability and heat dissipation properties but can be noisy. Semi-metallic pads strike a balance between the two but may vary in performance depending on the specific compound. Consider your riding style, braking preferences, and environmental conditions when choosing the pad material.
3. Check compatibility
Ensure that the brake pads you choose are compatible with your e-bike’s braking system. Different e-bike models may have specific requirements, so it’s important to check the manufacturer’s recommendations or consult a professional if you are unsure. Using incompatible brake pads can compromise your braking performance and safety.
By considering these factors and choosing the right brake pads for your e-bike, you can optimize your braking system’s performance and enjoy a safe riding experience.
Checking Brake Pad Alignment
Proper alignment of your brake pads is crucial for optimal braking performance. Here are two methods to check and adjust the alignment:
Visual inspection
Visually inspect the gap between the brake pads and the rotor. There should be an even space on both sides of the rotor. If one pad is noticeably closer to the rotor or making contact while the other has a larger gap, it may indicate misalignment. In this case, adjustment is necessary to ensure even pressure and full contact between the pads and the rotor.
Toe-in adjustment
To adjust the toe-in of your brake pads, follow these steps:
- Loosen the bolts holding the brake pads in place.
- Squeeze the brake lever to engage the brake caliper.
- While holding the brake lever, carefully align the leading edges of the brake pads slightly inward in relation to the rotor. This toe-in adjustment ensures the pads make full and even contact with the rotor during braking.
- Tighten the bolts to secure the brake pads in the adjusted position.
After making the adjustment, perform a test ride to ensure that the brake pads engage smoothly and provide consistent braking performance. If necessary, repeat the adjustment process until optimal alignment is achieved.
Regularly checking and adjusting the alignment of your brake pads will help maximize your e-bike’s braking performance and ensure safe and reliable stopping power.
In conclusion, inspecting and replacing your e-bike brake pads is an essential part of maintaining effective braking performance. By following the steps outlined in this guide and using the recommended tools, you can ensure safe and reliable stopping power on your e-bike. Remember to choose the right brake pads for your specific e-bike, regularly clean and adjust your brake pads, and check for signs of wear to ensure optimal performance and a safe riding experience. Happy riding!
