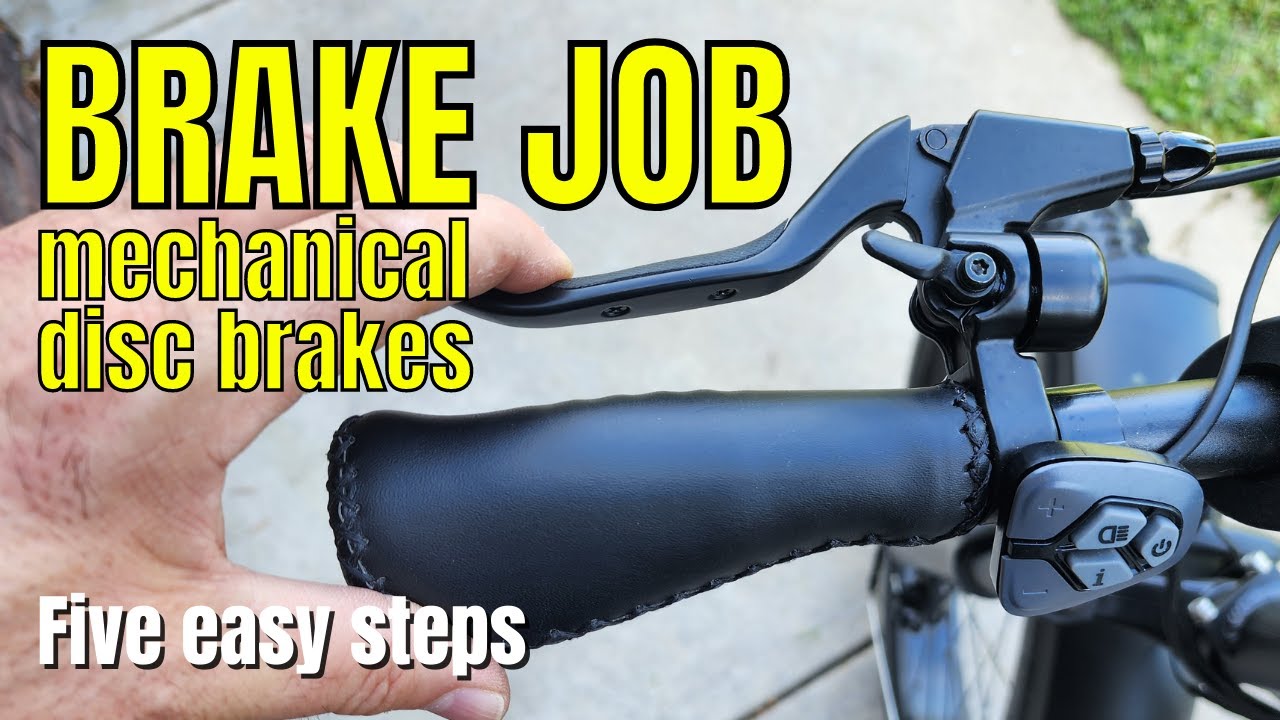
Whether you’re a seasoned e-bike rider or just starting out, knowing how to adjust your brakes is an important skill to have. In our latest maintenance guide, we’ll walk you through the step-by-step process of safely fine-tuning your e-bike’s brakes. We’ll provide easy-to-follow instructions, expert advice, and even recommend some essential tools and products along the way. By properly maintaining your brakes, not only will you ensure a smoother and safer ride, but you’ll also extend the lifespan of your electric bike. So let’s dive in and get those brakes working perfectly for your daily commute, off-road adventures, or weekend jaunts!
E-Bike Brake Components
Understanding the Brake System
When it comes to your e-bike, the brake system is one of the most critical components for your safety and the overall performance of your ride. Understanding how the brake system works is essential before attempting any adjustments or maintenance. The brake system consists of several important components that work together to provide the stopping power you need.
The main components of an e-bike brake system include brake levers, brake cables, brake calipers, brake pads, and the barrel adjuster. The brake levers are what you use to apply pressure to the brakes, activating the system. The brake cables transfer the force from the brake levers to the brake calipers. The calipers house the brake pads, which make contact with the wheel rim or disc to slow down or stop your e-bike. The barrel adjuster is a handy tool that allows you to fine-tune the cable tension.
Types of E-Bike Brakes
There are various types of brakes available for e-bikes, each with its own advantages and disadvantages. The three most common types of brakes are rim brakes, disc brakes, and hydraulic disc brakes.
Rim brakes, also known as V-brakes, are the most common type found on e-bikes. They have pads that make contact with the rim of the wheel to create friction and slow down the bike.
Disc brakes, on the other hand, use a rotor attached to the wheel hub and calipers that squeeze the rotor to create friction. These brakes offer better stopping power and perform well in wet conditions.
Hydraulic disc brakes take the benefits of disc brakes a step further. They use hydraulic fluid to transfer force from the brake lever to the caliper, resulting in more consistent and powerful braking.
Components of E-Bike Brakes
To better understand how to adjust your e-bike brakes, it’s essential to know the different components involved. The brake system of an e-bike consists of brake levers, brake cables, brake calipers, and brake pads.
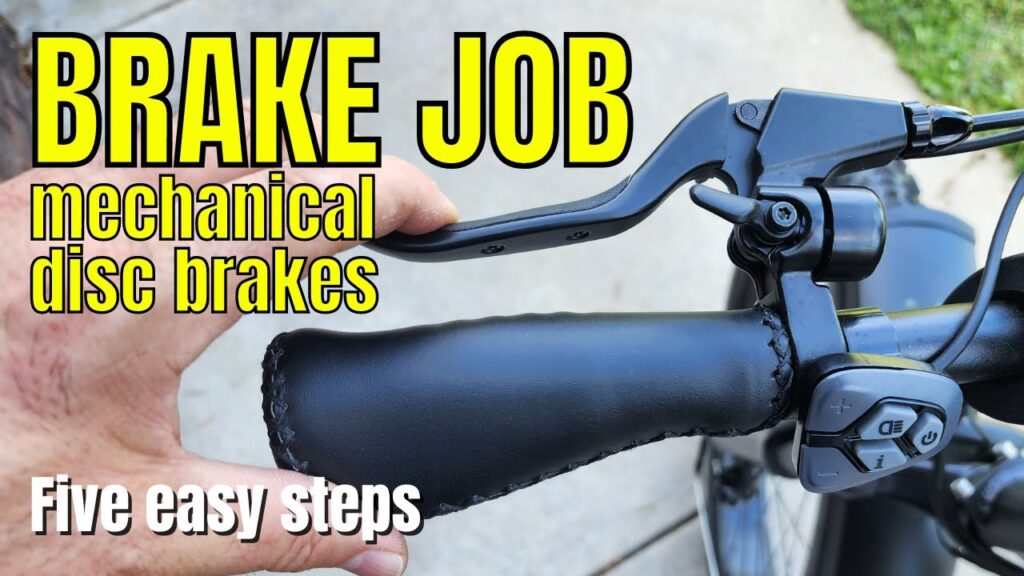
The brake levers are what you use to control the braking action. When you squeeze them, it activates the brake cables, which transfer the force to the brake calipers. The brake calipers house the brake pads, and when the force is applied, the pads come into contact with either the rim or disc to slow down or stop the e-bike.
The brake pads themselves are replaceable parts that make contact with the rim or disc. They wear down over time and need to be periodically replaced to maintain optimal braking performance.
Preparing for Brake Adjustment
Gather the Necessary Tools
Before you begin any brake adjustments, it’s important to gather all the necessary tools. Having the right tools on hand will make the process smoother and ensure that you have everything needed to properly adjust your e-bike brakes.
Some essential tools for brake adjustment include an Allen wrench set, a cable cutter or a sharp pair of wire cutters, a screwdriver set, and a rag or towel for cleaning. Additionally, having a barrel adjuster tool specific to your brake system will come in handy for fine-tuning the cable tension.
Ensure Safety Precautions
Before you start adjusting your e-bike brakes, it’s crucial to prioritize safety. Ensure that your e-bike is on a stable surface, such as a bike stand or a level floor. This will prevent any accidents or mishaps during the adjustment process.
It’s also a good idea to wear safety glasses or goggles to protect your eyes from any debris or brake dust that may be released during the adjustment. Additionally, make sure to familiarize yourself with the specific safety guidelines provided by the manufacturer of your e-bike.
Check Brake Cable and Pads
Before diving into adjusting your brakes, take a moment to inspect the brake cables and pads. Look for any signs of fraying or damage on the cables. If you notice any issues, such as kinks or a compromised outer layer, it’s best to replace the cable before proceeding with the adjustment.
Similarly, inspect the brake pads for wear. If the pads are worn down to the wear indicators or have less than 1/16 inch of material remaining, it’s time to replace them. Damaged or worn brake pads can affect the braking performance and should be addressed before attempting any adjustments.
Adjusting Cable Tension
Locate the Barrel Adjuster
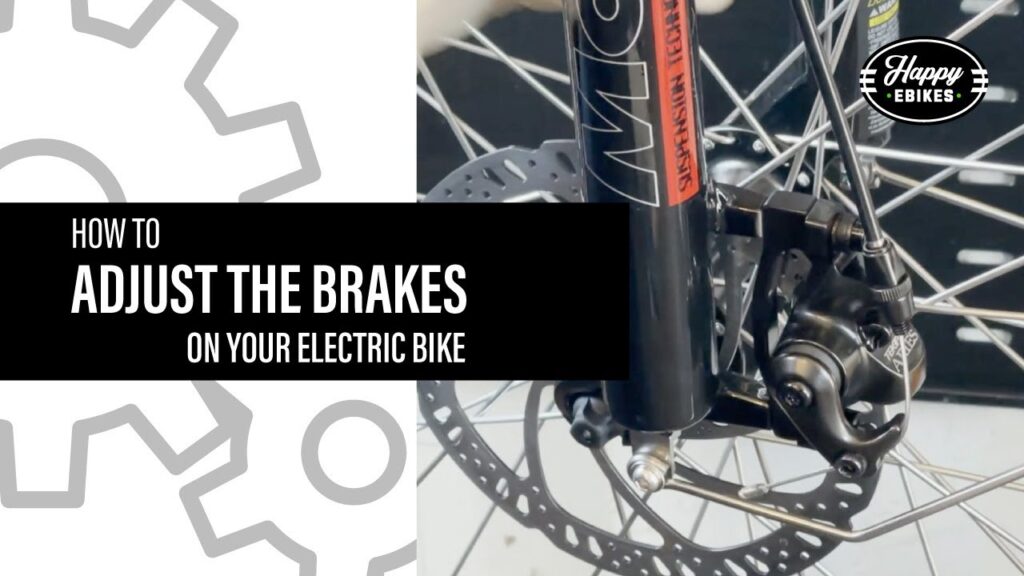
The barrel adjuster is a small cylindrical component that allows you to fine-tune the tension in the brake cable. To locate the barrel adjuster, follow the brake cable from the brake lever down to the brake caliper. Along the way, you should find the barrel adjuster, typically located either at the brake lever or at the brake caliper itself.
Once you’ve located the barrel adjuster, make sure it is in the middle position. This will provide a baseline for adjusting the tension and allow for fine-tuning later on.
Fine-tuning Cable Tension
To adjust the cable tension, begin by turning the barrel adjuster clockwise to tighten the cable or counterclockwise to loosen it. Make small adjustments, usually no more than a quarter turn at a time, to avoid making drastic changes.
As you make adjustments, squeeze the brake lever and check the brake pad’s distance from the rim or rotor. The goal is to achieve a gap of approximately 1/16 to 1/8 inch between the brake pad and the rim or rotor when the brake lever is released.
Testing Brake Lever Feel
Once you’ve made the necessary adjustments to the cable tension, it’s important to test the brake lever feel. Squeeze the brake lever and observe how it feels. The lever should engage smoothly and without excessive resistance.
If the lever feels too loose or too tight, go back to the barrel adjuster and make further adjustments until you achieve the desired feel. Remember, the ideal brake lever feel is subjective and may vary from rider to rider, so trust your instincts and make adjustments accordingly.
Aligning Brake Pads
Inspect Brake Pad Alignment
Proper alignment of the brake pads is crucial for optimal braking performance. Take a moment to inspect the brake pad alignment to ensure they are making even contact with the rim or rotor. Unevenly aligned brake pads can result in uneven and less effective braking.
Adjusting Pad Position
To adjust the pad position, locate the brake caliper and find the adjustment bolts or knobs that secure the pads in place. Loosen these bolts or knobs, allowing the pads to move freely.
With the bolts or knobs loosened, position the pads so that they make even contact with the rim or rotor. Ensure that the pads are parallel to the braking surface for consistent braking performance.
Checking Pad Clearance
Once you’ve adjusted the pad position, it’s important to check the pad clearance. The clearance refers to the space between the pads and the rim or rotor when the brake lever is released. There should be an equal amount of space on both sides.
To check the pad clearance, visually inspect the gap between the pads and the rim or rotor. You can also use a thin object, such as a business card, to ensure there is a slight drag between the pad and the rim or rotor.
Centering the Brake Caliper
Identifying Caliper Mounting
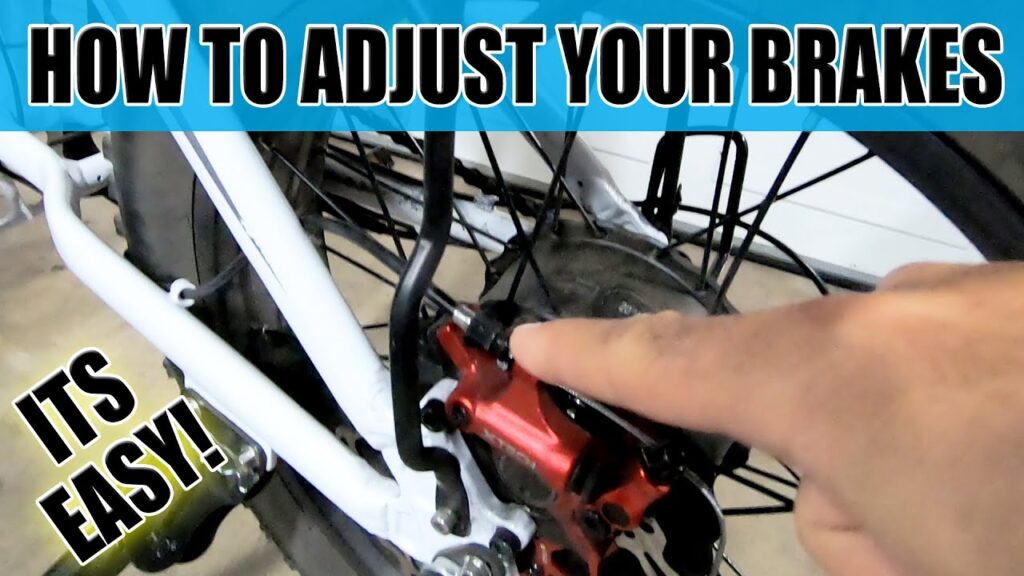
To center the brake caliper, start by examining how it is mounted on your e-bike. Depending on the brake system, the caliper may be mounted directly to the frame or fork or attached to a separate bracket.
Understanding the mounting mechanism will help you identify the appropriate bolts or screws that secure the caliper to the mounting point.
Loosening Mounting Bolts
To adjust the caliper’s centering, begin by loosening the mounting bolts or screws. Use the appropriate tool, such as a wrench or Allen key, to gently loosen the bolts without removing them completely.
By loosening the mounting bolts, you allow the caliper to move freely and make adjustments to its centering.
Realigning the Caliper
With the mounting bolts loosened, gently manipulate the caliper to center it over the rim or rotor. Ensure that the pads are making even contact with the braking surface on both sides.
Once you’ve aligned the caliper, hold it in place and tighten the mounting bolts or screws to secure the caliper in its new position. Be careful not to overtighten, as this may cause damage to the mounting points or caliper.
Adjusting Brake Pad Angle
Understanding Pad Angle Importance
The angle of the brake pads plays a significant role in their performance and longevity. Properly aligned brake pads can improve braking efficiency, reduce noise, and prevent premature wear.
When adjusting the brake pad angle, the goal is to achieve even contact between the pad and the rim or rotor. Angled pads may result in uneven braking or excessive noise.
Aligning the Pad Angle
To adjust the pad angle, locate the adjustment bolts or knobs that secure the pads to the caliper. Loosen these bolts or knobs, allowing the pads to move freely.
With the bolts or knobs loosened, position the pads so that they make even contact with the rim or rotor. Ensure that the pads are parallel to the braking surface, both vertically and horizontally.
Once you’ve aligned the pad angle, tighten the adjustment bolts or knobs to secure the pads in their new position. Keep in mind that overtightening may cause damage to the caliper or pads, so use caution.
Testing and Fine-tuning
After adjusting the brake pad angle, it’s crucial to test the brake performance and fine-tune as needed. Squeeze the brake lever firmly and observe the braking action.
If the braking feels uneven or there are any signs of excessive noise, consider making further adjustments to the pad angle. It may take a few iterations of adjustment and testing to find the optimal pad angle for your e-bike.
Checking Brake Lever Reach
Evaluating Lever Distance
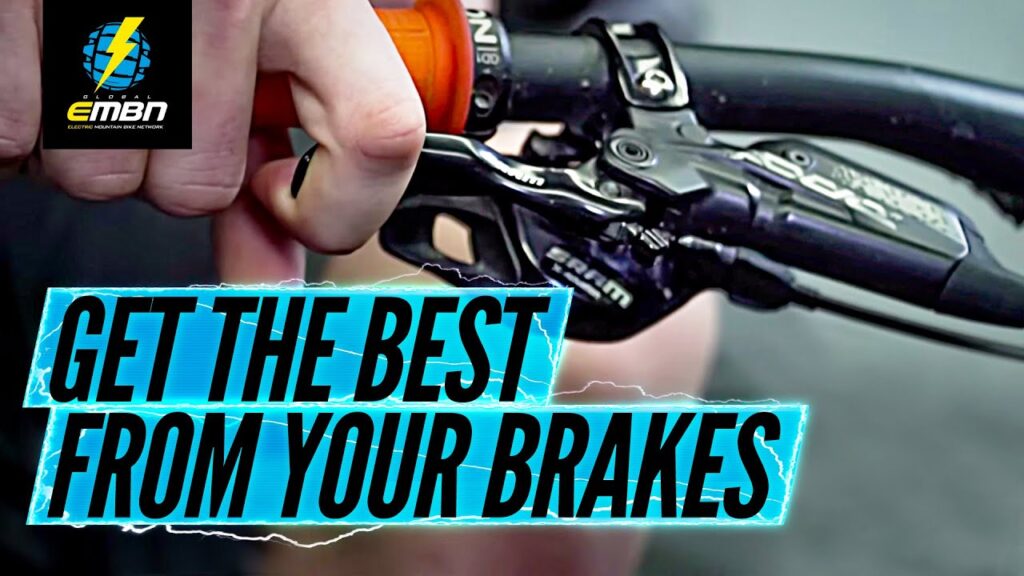
The reach of the brake lever refers to the distance between the lever and the handlebar when the lever is in its resting position. An improper lever reach can result in discomfort, reduced control, or difficulty in applying enough pressure to engage the brakes effectively.
Evaluate the lever distance and determine if it feels comfortable for your hand size and riding style. Ideally, you should be able to reach the lever with a slight bend in your elbow and without straining your fingers.
Adjusting Lever Reach
To adjust the lever reach, locate the reach adjustment mechanism on your brake lever. This may be in the form of a reach adjustment knob or a bolt that can be loosened.
Once you’ve identified the adjustment mechanism, make the necessary changes to adjust the reach. Turn the reach adjustment knob or loosen the bolt to move the lever closer or farther away from the handlebar.
Test the lever reach as you make adjustments, ensuring that it feels comfortable and natural for your hand placement. Remember, everyone’s hand size and riding preferences are different, so adjust the lever reach according to your own comfort.
Finding the Optimal Reach
Finding the optimal lever reach for your e-bike may require some trial and error. Make small adjustments and test the lever reach after each change. It’s important to find the balance between comfort and control that works best for you.
Once you’ve found the optimal reach, tighten the reach adjustment knob or bolt to secure the lever in its new position. Double-check that the lever action remains smooth and consistent after tightening.
Inspecting Brake Cable Tension
Examining Cable Slack
When performing brake adjustments, it’s crucial to inspect the brake cable tension. Over time, the cable may stretch or become loose, affecting the braking performance.
Examine the brake cables closely, looking for any signs of slack. A properly tensioned brake cable should be taut and have minimal slack when the brake lever is released.
Adjusting Cable Tension
To adjust the brake cable tension, locate the barrel adjuster. Turning the barrel adjuster clockwise will increase the tension, while counterclockwise will decrease it.
Make small adjustments to the barrel adjuster, testing the tension after each change. The goal is to achieve a taut brake cable with minimal slack when the brake lever is released.
Verifying Smooth Brake Operation
After adjusting the cable tension, verify that the brake operation is smooth and consistent. Squeeze the brake lever and observe the action of the brake pads.
The brake pads should engage evenly and without any hesitation. If you notice any issues, such as uneven braking or excessive noise, consider making further adjustments to the cable tension or other brake components.
Replacing Brake Pads
Knowing When to Replace
Periodically replacing brake pads is essential to maintain optimal braking performance and rider safety. Brake pads wear down over time due to friction and heat, and they should be replaced when they reach the wear indicators or have less than 1/16 inch of material remaining.
Inspect the brake pads regularly, looking for any signs of excessive wear or damage. If the pads are nearing the end of their lifespan, it’s time to replace them.
Removing Worn Pads
To remove worn brake pads, start by locating the pad retention system. This may involve removing a bolt, a pin, or sliding the pad out of a clip.
Once you’ve identified the retention system, loosen or remove it to release the worn brake pad. Take note of the orientation of the pad and how it is attached, as this will greatly assist in the installation of the new pads.
Installing New Brake Pads
Installing new brake pads is a straightforward process, but it requires attention to detail. Start by orienting the new brake pads correctly, taking care to match the orientation and attachment method of the old pads.
Slide the new brake pads into place, ensuring that they fit securely and make even contact with the rim or rotor. Double-check that the retention system is properly secured to prevent any pad movement during braking.
After installing the new brake pads, it’s crucial to test the braking performance before riding. Squeeze the brake lever and observe the pad engagement and overall braking feel. Make any necessary adjustments to ensure proper braking performance.
Testing and Fine-Tuning
Testing Brake Performance
Once you’ve completed the adjustments and maintenance tasks, it’s imperative to thoroughly test the brake performance. Take your e-bike for a short test ride and evaluate the braking action under different conditions, such as varying speeds and road surfaces.
Pay close attention to any signs of uneven braking, excessive noise, or reduced stopping power. These may indicate that further adjustments or maintenance tasks are necessary.
Fine-tuning Brake Adjustment
As you test the brake performance, be prepared to make additional adjustments if needed. Fine-tuning the adjustments based on your riding preferences and comfort level is crucial for optimizing your e-bike’s braking system.
Listen to your instincts and trust your judgment when it comes to brake adjustments. Small changes can often make a big difference in brake performance, so don’t hesitate to continue fine-tuning until you achieve the desired results.
Repeating the Adjustment Process
Remember, brake adjustments and maintenance are not a one-time task. Regularly inspecting and adjusting your e-bike brakes is crucial for maintaining optimal performance and rider safety.
As you ride your e-bike, monitor the brake performance and be attuned to any changes or signs of wear. Repeat the adjustment process as needed, ensuring that your brakes are in top shape for every ride.
By following the steps outlined in this article and staying vigilant with brake maintenance, you can enjoy the peace of mind that comes with knowing your e-bike’s braking system is properly adjusted and ready for any adventure. Happy riding!

