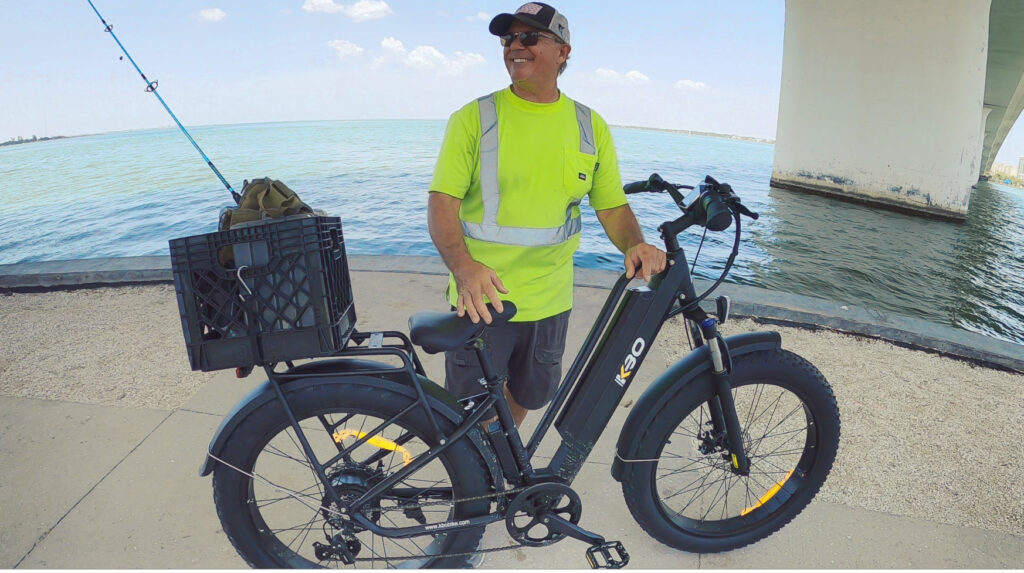
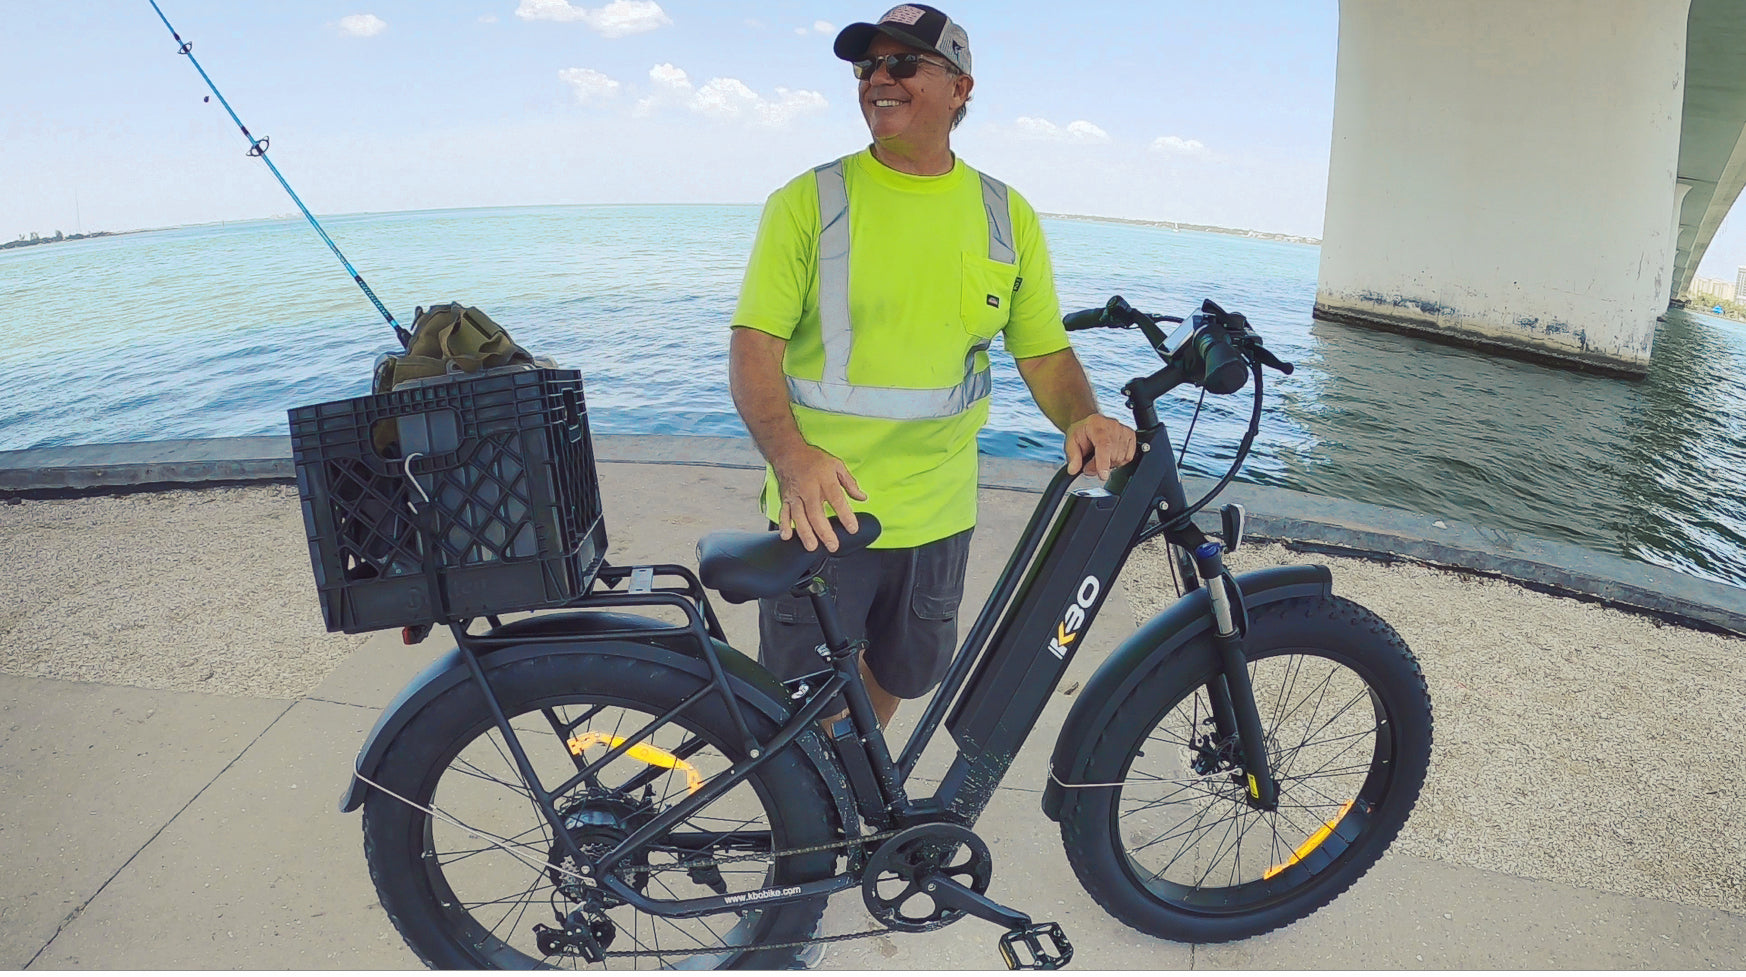
Maintaining your e-bike lights is crucial for both functionality and safety. Our step-by-step guide aims to provide you with the knowledge and techniques to inspect and maintain your e-bike lights effectively. Whether you’re a beginner or an experienced rider, our guide offers easy-to-follow instructions and expert advice using plain language. We also provide recommendations for specialized cleaning solutions and must-have tools that can enhance your maintenance routine. Remember, some tasks may require professional assistance, but with regular care, your e-bike lights will not only perform better but also have a longer lifespan. So, whether you’re commuting, adventuring off-road, or enjoying weekend rides, make sure your lights are in top-notch condition. Start inspecting and maintaining your e-bike lights now to ensure a safe and well-lit journey.
A Step-by-Step Guide to Inspecting and Maintaining E-Bike Lights

1. Introduction
Welcome to our comprehensive guide on inspecting and maintaining e-bike lights! Whether you’re a new e-bike owner or an experienced rider, this guide aims to provide you with all the information you need to keep your lights in top shape. E-bike lights are an essential component for safe riding, ensuring visibility and signaling your presence to other road users. By maintaining your lights properly, you can not only enhance your riding experience but also prolong the lifespan of your electric bike.
1.1 Purpose of the Guide
The purpose of this guide is to provide step-by-step instructions and valuable tips for inspecting and maintaining e-bike lights. We aim to make the process as easy as possible, with clear guidelines and helpful recommendations. Whether you’re a DIY enthusiast or prefer to leave it to the professionals, this guide will equip you with the knowledge to ensure your e-bike lights are in optimal condition.
1.2 Target Audience
This guide is ideal for e-bike owners of all levels of experience. Whether you ride an e-bike for daily commuting, off-road adventures, or weekend jaunts, maintaining your lights is crucial for safety and performance. From beginners who are new to e-bikes to seasoned riders looking for advanced tips, this guide is designed to cater to the needs of all e-bike owners.
1.3 Importance of Maintaining E-Bike Lights
Maintaining your e-bike lights is not only a matter of safety but also essential for responsible e-bike ownership. Well-maintained lights ensure that you are visible to other road users, especially during low-light conditions or at night. Additionally, properly functioning lights allow you to signal your intentions to other cyclists, pedestrians, and drivers, reducing the risk of accidents. Regular maintenance of your e-bike lights can also save you money in the long run by preventing costly repairs or replacements.
1.4 Disclaimer on Professional Help
While this guide provides comprehensive instructions for inspecting and maintaining e-bike lights, it’s important to note that some tasks may require professional help. If you feel uncomfortable or unsure about any aspect of maintaining your lights, it’s always best to seek assistance from a qualified e-bike technician. Safety should always be the top priority, and professional help can ensure that your e-bike lights are in perfect working order.
1.5 Benefits of Well-Maintained Lights
Properly maintained e-bike lights offer several benefits to riders. Firstly, they improve visibility, ensuring that you can see and be seen by others on the road. This is vital for your safety, especially when riding in low-light or adverse weather conditions. Secondly, well-maintained lights enhance your overall riding experience by providing adequate illumination, allowing you to navigate safely and confidently. Lastly, maintaining your lights can help to prolong their lifespan, saving you money on replacements and repairs.
2. Tools and Materials
Before we begin inspecting and maintaining your e-bike lights, let’s go over the essential tools, cleaning solutions, spare parts, and accessories you might need.
2.1 Essential Tools
Having the right tools is essential for maintaining your e-bike lights. Some of the essential tools you may need include:
- Screwdriver set (to remove and install lights)
- Soft-bristle brush (for cleaning)
- Microfiber cloth (for wiping)
- Wire connectors (for repairing wiring)
- Multimeter (for electrical testing)
- Lubricating oil (for moving parts)
2.2 Recommended Cleaning Solutions
To clean your e-bike lights effectively, it’s best to use specialized cleaning solutions. These solutions are designed to remove dirt, grime, and debris without damaging the lights. Some recommended cleaning solutions include:
- Non-abrasive bike wash soap
- Isopropyl alcohol (for removing stubborn dirt)
- Water-based cleaning spray
2.3 Spare Parts and Accessories
It’s always a good idea to have some spare parts and accessories on hand for quick replacements or upgrades. Some common spare parts and accessories for e-bike lights include:
- Bulbs (ensure compatibility with your e-bike lights)
- Mounting brackets (for securing lights)
- Connection cables (for wiring repairs)
- Reflectors (for added visibility)
By having these tools, cleaning solutions, spare parts, and accessories readily available, you can ensure a smooth maintenance process for your e-bike lights.
3. Pre-Inspection Checklist
Before diving into inspecting your e-bike lights, it’s important to follow a pre-inspection checklist to ensure your safety and the integrity of your electric bike.
3.1 Safety Precautions
Safety should be your utmost concern when working on your e-bike lights. Make sure to follow these safety precautions:
- Wear protective gloves and goggles to protect yourself from any potential hazards.
- Disconnect the e-bike from the power source and remove the battery to prevent accidental electrical shocks.
- Work in a well-ventilated area to avoid inhaling any fumes from cleaning solutions or lubricants.
3.2 Removing the E-Bike Battery
To begin the inspection process, first, you’ll need to remove the e-bike battery. This step ensures that there is no power supply to the lights, minimizing the risk of electrical shocks. Consult your e-bike’s user manual for specific instructions on how to remove the battery safely.
3.3 Cleaning the E-Bike
Before inspecting the lights, it’s essential to clean your e-bike thoroughly. Use a soft-bristle brush and a bike wash soap solution to remove dirt, mud, and debris from the frame, handlebars, and other areas. After cleaning, use a microfiber cloth to dry the e-bike and ensure no excess moisture is left behind.
3.4 Checking Connections and Wiring Integrity
Before proceeding with the inspection, take a moment to check the connections and wiring integrity of your e-bike lights. Ensure that all connection points are secure, and there are no loose or frayed wires. If you notice any issues, such as loose connections or damaged wiring, it’s best to address them before proceeding with the inspection.
4. Inspecting E-Bike Lights
Now that you’ve completed the pre-inspection checklist, it’s time to inspect your e-bike lights. Proper inspection will help you identify any issues or areas that require maintenance or repair.
4.1 Front Light Inspection
Start by inspecting the front light of your e-bike. Check for any signs of damage, such as cracks or breakage. Test the light by turning it on and off to ensure it is functioning correctly. If the front light uses replaceable bulbs, check that the bulb is not burnt out or damaged.
4.2 Rear Light Inspection
Next, move on to inspecting the rear light of your e-bike. Check the lens for any cracks or discoloration that may affect the light output. Test the rear light by engaging the brake to ensure that the brake light function is working correctly. Check the wiring connections for any signs of looseness or damage.
4.3 Brake Light Inspection
Brake lights are an essential safety feature on e-bikes. Inspect the brake light to ensure it illuminates brightly when the brakes are engaged. If your e-bike has a separate brake light, check that it functions correctly and that the wiring connections are secure.
4.4 Indicator Light Inspection
Indicator lights, also known as turn signals, are crucial for signaling your intentions to other road users. Ensure that the indicator lights illuminate brightly when activated and that they are not blocked by any dirt or debris. If your e-bike has electronic indicators, test their functionality and make sure the connections are secure.
4.5 Display Panel Inspection
The display panel on your e-bike provides important information about battery level, speed, and other vital data. Inspect the display panel for any visible damage, such as cracks or scratches. Ensure that all buttons and controls are functioning correctly. If you notice any issues, consult your e-bike’s user manual for instructions on troubleshooting or contacting customer support.

5. Troubleshooting Common Issues
Even with regular maintenance, e-bike lights can sometimes encounter issues. Here are some common problems you may encounter and how to troubleshoot them.
5.1 Dim or Flickering Lights
If your e-bike lights appear dim or flicker, the first step is to check the battery connection. Ensure that the battery is securely connected to the e-bike. If the issue persists, it’s possible that the battery is running low or needs to be replaced. Check the battery charge and consult your e-bike’s user manual for specific instructions on replacing the battery.
5.2 Lights Not Turning On
If your e-bike lights fail to turn on, check the battery charge and ensure it is not depleted. If the battery is fully charged, inspect the wiring connections for any signs of damage or looseness. Make sure the connectors are securely plugged in. If the issue persists, consult a professional e-bike technician for further assistance.
5.3 Inconsistent Brightness
If your e-bike lights exhibit inconsistent brightness, it may be due to a faulty bulb or loose wiring connections. Check the bulbs for any signs of damage or burning out. If the bulbs are fine, inspect the wiring connections and ensure they are securely connected. If the issue persists, consider replacing the bulbs or consulting a technician for further diagnosis.
5.4 Error Codes or Warning Lights
If your e-bike’s display panel shows error codes or warning lights, consult your e-bike’s user manual for specific instructions on interpreting these codes. Error codes or warning lights can indicate issues with the battery, wiring, or other electrical components. Follow the troubleshooting steps provided by the manufacturer or contact their customer support for further guidance.
6. Cleaning and Maintenance
Regular cleaning and maintenance are essential to keep your e-bike lights in optimal condition. Here are some tips to help you clean and maintain your lights effectively.
6.1 Cleaning Tips for E-Bike Lights
To clean your e-bike lights, start by removing any loose dirt or debris with a soft-bristle brush. Next, dampen a microfiber cloth with a non-abrasive bike wash soap solution or isopropyl alcohol. Gently wipe the lights, ensuring you remove any grime or stubborn dirt. Avoid using harsh chemicals or abrasive materials that could damage the lights.
6.2 Cleaning the Display Panel
The display panel on your e-bike requires special care. Use a microfiber cloth dampened with water or a water-based cleaning spray to gently wipe the display panel. Avoid using excessive water or cleaning solutions to prevent damage to the electronic components. If the display panel is particularly dirty or smudged, consult your e-bike’s user manual for specific cleaning instructions.
6.3 Lubricating Moving Parts
E-bike lights may have moving parts, such as hinges or swiveling mechanisms. Keeping these moving parts lubricated is important for smooth operation. Use a multi-purpose lubricating oil to apply a small amount to the moving parts, ensuring that they move freely without any stiffness or resistance. Be careful not to over-lubricate, as excess oil can attract dirt and debris.
6.4 Replacing Damaged or Burnt-Out Bulbs
If you notice any damaged or burnt-out bulbs during the inspection, it’s crucial to replace them promptly. Refer to your e-bike’s user manual to identify the correct replacement bulbs for your lights. Follow the manufacturer’s instructions to safely remove the old bulbs and install the new ones. Make sure to handle the bulbs carefully, avoiding touching the glass surface with bare hands.

7. Battery and Electrical Connections
The battery and electrical connections play a vital role in the performance of your e-bike lights. Regular checks and maintenance are necessary to ensure they function optimally.
7.1 Checking Battery Connections
Periodically check the battery connections to ensure they are secure and free from corrosion. Use an appropriate tool, such as a screwdriver, to tighten the connections if necessary. If you notice any signs of corrosion, use a wire brush or sandpaper to clean the terminals. Apply an anti-corrosion spray or grease to prevent future corrosion.
7.2 Verifying Charger Functionality
To maintain your e-bike lights’ battery life, it’s important to verify the charger’s functionality. Regularly inspect the charger for any signs of damage or wear. Ensure that the charger is plugging into a suitable power outlet and that the charging indicator light illuminates correctly. If you suspect any issues with the charger, consult a professional technician or contact the manufacturer for further assistance.
7.3 Inspecting and Repairing Wiring
Inspect the wiring connections of your e-bike lights for any signs of damage, such as frayed or exposed wires. Damaged wiring can affect the functionality of your lights and pose a safety hazard. Use wire connectors or consult a professional e-bike technician to repair or replace any damaged wiring. Avoid attempting electrical repairs if you’re not confident in your abilities.
7.4 Troubleshooting Electrical Issues
If you encounter any electrical issues with your e-bike lights that cannot be easily resolved, it’s best to seek professional help. Electrical problems can be complex and require specialized knowledge and equipment for diagnosis and repair. Contact an authorized e-bike service center or consult the manufacturer for guidance on troubleshooting and resolving electrical issues.
8. Upgrading E-Bike Lights
Upgrading your e-bike lights can enhance visibility, performance, and safety. Here’s what you need to know about upgrading your lights.
8.1 Reasons to Upgrade Lights
There are several reasons why you might consider upgrading your e-bike lights. Upgraded lights often offer brighter illumination, allowing you to see more clearly in low-light conditions. They may also have additional features such as different lighting modes or enhanced visibility. Upgrading your lights can improve your overall riding experience and increase your safety on the road.
8.2 Choosing the Right Light Upgrades
When choosing light upgrades for your e-bike, consider factors such as brightness, beam pattern, battery life, and compatibility with your e-bike model. Research different brands and models, read customer reviews, and seek recommendations from fellow e-bike owners or professionals. Ensure that the lights you choose meet your specific riding needs and adhere to local regulations regarding e-bike lighting.
8.3 Installing Upgraded Lights
Installing upgraded lights can vary depending on your e-bike model and the type of lights you choose. Follow the manufacturer’s instructions carefully, as each light may have specific installation requirements. If you’re uncomfortable with the installation process, consult a professional e-bike technician for assistance. Proper installation ensures that your upgraded lights function correctly and safely.

9. Tips for Prolonging Light Life
To maximize the lifespan of your e-bike lights, here are some additional tips to consider.
9.1 Riding in Wet Conditions
When riding your e-bike in wet conditions, take extra precautions to protect your lights. Consider using fenders or mudguards to prevent water splashing onto the lights, which could cause damage or reduce visibility. After riding in the rain, wipe down your lights with a clean, dry cloth to remove any moisture.
9.2 Proper Storage and Transportation
Properly storing and transporting your e-bike can prevent damage to the lights. When storing your e-bike, ensure it is in a dry and secure location, away from extreme temperatures or direct sunlight. During transportation, use padded bike bags or racks to protect the lights from impacts or vibrations.
9.3 Regular Maintenance Schedule
Create a regular maintenance schedule for your e-bike lights to ensure they are always in optimal condition. Set reminders for cleaning, bulb replacements, and inspections. By following a regular maintenance routine, you can catch any issues early and prevent major problems from occurring.
10. Conclusion
Regularly inspecting and maintaining your e-bike lights is a crucial aspect of responsible e-bike ownership. By following the steps outlined in this guide, you can ensure that your lights remain functional, enhancing your safety and overall riding experience. Remember that while some maintenance tasks can be performed at home, it’s important to seek professional help for more complex issues. By taking care of your e-bike lights, you’re making an investment in your safety and the longevity of your electric bike. Ride safely and enjoy the journey!


