
If you’re an electric bike owner, you know the importance of regular maintenance to keep your ride in top shape. One of the most common issues you may encounter is a flat tire. But fear not, because our step-by-step guide is here to help you navigate the process of changing an electric bike tire with ease. Whether you’re a novice or an experienced rider, our article will provide you with all the information you need to tackle this task confidently. From necessary tools to expert tips, we’ve got you covered. So, let’s dive into the world of DIY bike maintenance and ensure your electric bike stays on the road for many more adventures to come.
How to Change an Electric Bike Tire: Step-by-step guide for replacing a flat tire.
Our maintenance guide aims to be the ultimate resource for e-bike owners, whether they’re new to the game or experienced riders looking for advanced tips. The articles blend easy-to-follow guidelines with expert advice, using plain language and step-by-step methods where applicable. It’s important to mention that while some maintenance can be performed at home, some tasks may require professional help. Remember, a well-maintained electric bike not only performs better but also lasts longer. It’s an essential part of responsible e-bike ownership, whether you use your e-bike for daily commuting, off-road adventures, or weekend jaunts.

Materials and Tools Needed
Before you start changing the tire on your electric bike, gather the necessary materials and tools. Here’s what you’ll need:
Spare tire
Ensure you have a spare tire that is the correct size and type for your electric bike. Having a spare tire on hand will save you time and hassle in case of a flat tire.
Tire levers
Tire levers are essential for removing the flat tire from the rim. These tools help you pry the tire bead off the rim without damaging the tire or inner tube.
Hand pump or CO2 inflator
You’ll need a hand pump or CO2 inflator to inflate the new tire once it’s installed. Make sure the hand pump or CO2 inflator is compatible with your valve type.
Wrench
A wrench is necessary for removing the axle nuts that hold the wheel in place. Check the size of your axle nuts to ensure you have the correct wrench for the job.
Rubber gloves (optional)
Rubber gloves can help protect your hands from dirt, grime, and any chemicals you may use during the tire changing process. They’re not essential but can be useful.
Bucket or basin
A bucket or basin will come in handy for cleaning the wheel and rim. This will help ensure you have a clean surface to work with during the tire installation.
Soap and water solution
Prepare a soap and water solution in the bucket or basin. This will be used for cleaning the wheel and rim, removing any dirt or debris that may have built up.
Clean cloth or paper towels
Have a clean cloth or paper towels on hand to dry the wheel and rim after cleaning. This will help prevent any moisture from affecting the new tire and inner tube.
Marker or chalk (optional)
While not necessary, a marker or chalk can be used to mark the position of the tire on the rim. This can help ensure proper alignment during the tire installation.
Preparation
Before you start the tire changing process, take some time to prepare yourself and your workspace. Follow these steps to ensure a smooth process:
Find a suitable workspace
Choose a well-lit and well-ventilated area where you can comfortably work on your electric bike. Make sure you have enough space to maneuver and set up your tools.
Secure the bike
Before removing the wheel, secure your electric bike to prevent it from tipping over or rolling away. You can use a bike stand or lean the bike against a stable surface.
Release air pressure
To make the tire removal easier, release the air pressure in the flat tire. You can do this by pressing the valve stem with your finger or using a valve tool.
Inspect the tire for damage
Take a moment to inspect the flat tire for any obvious signs of damage, such as cuts, punctures, or sidewall wear. If the tire is damaged beyond repair, it may need to be replaced.
Prepare the tools
Ensure all the tools you’ll need are within reach and in good working condition. This includes the tire levers, hand pump or CO2 inflator, wrench, rubber gloves, bucket or basin, soap and water solution, clean cloth or paper towels, and marker or chalk if desired.


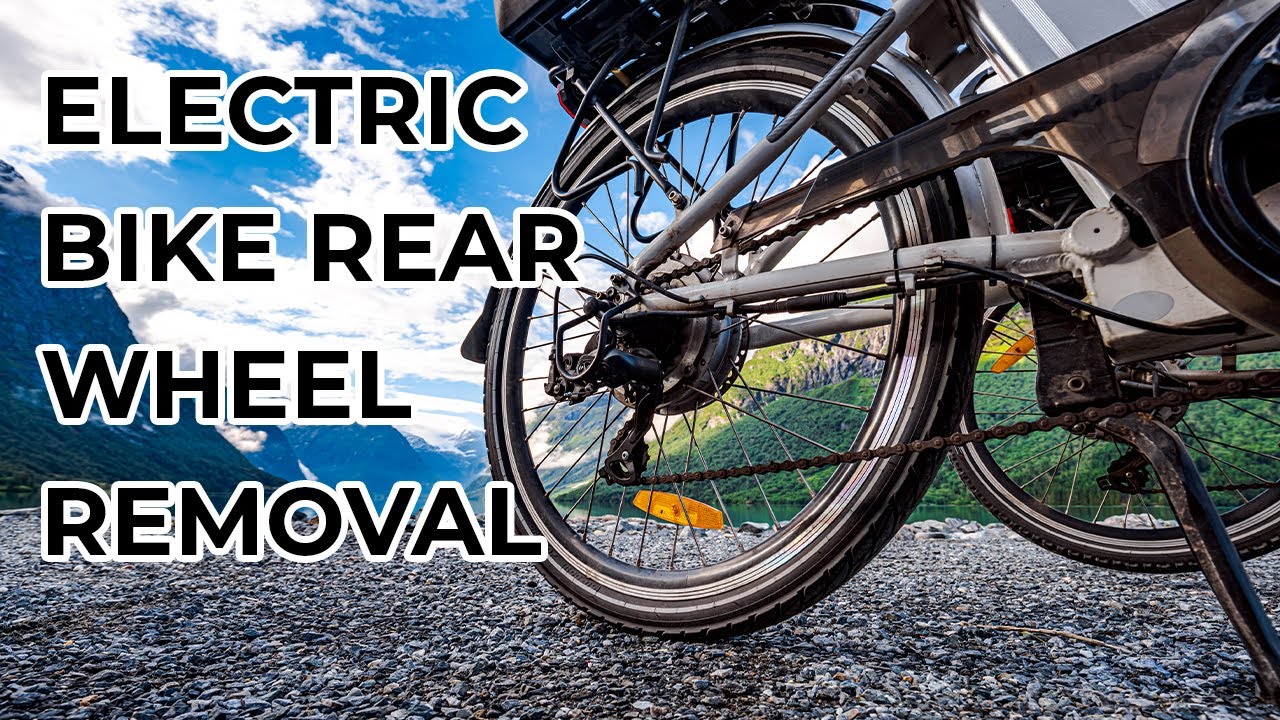
Removing the Wheel
Now that you’re prepared, it’s time to remove the wheel with the flat tire from your electric bike. Follow these steps:
Release the brakes
Before removing the wheel, release the brakes to create clearance. Depending on your e-bike’s brake system, this may involve loosening a quick release mechanism or manually opening the brakes.
Shift to the smallest gear
To make removing the wheel easier, shift your bike to the smallest gear on the rear cassette or freewheel. This will create slack in the chain and make it easier to remove the wheel.
Use the wrench to remove the axle nuts
Locate the axle nuts that secure the wheel to the frame. Use the appropriate wrench to loosen and remove the nuts. Set the nuts aside in a safe place where they won’t get lost.
Carefully remove the wheel from the frame
With the axle nuts removed, carefully lift the wheel with the flat tire out of the frame dropouts. Pay attention to the chain and derailleur to ensure they don’t get tangled or damaged during removal.
Removing the Flat Tire
With the wheel removed from the frame, it’s time to remove the flat tire from the rim. Follow these steps:
Use the tire levers to pry off one side of the tire bead
Insert one of the tire levers between the tire bead and the rim. Use the lever to pry the tire bead up and over the rim. Repeat this process at different points around the rim until one side of the tire bead is completely off the rim.
Repeat the process for the other side
Once one side of the tire bead is off the rim, repeat the levering process for the other side. Insert the tire lever between the tire bead and the rim, and work your way around until the entire tire bead is off the rim.
Remove the inner tube from the tire
With both tire beads off the rim, carefully remove the inner tube from inside the tire. Be gentle to avoid damaging the inner tube or valve stem. Set the flat tube aside for inspection or repair if possible.

Inspecting the Wheel and Rim
Now that the flat tire is removed, take some time to inspect the wheel and rim for any damage. Follow these steps:
Check the rim for any damage
Inspect the rim carefully for any cracks, dents, or warping. A damaged rim may need to be repaired or replaced to ensure proper tire installation and safe riding.
Inspect the wheel spokes
Check the tension and condition of the wheel spokes. Ensure they are all intact and properly tensioned. Loose or broken spokes should be addressed before installing the new tire.
Clean the wheel and rim
Prepare the soap and water solution in the bucket or basin. Use a clean cloth or paper towels to scrub and clean both the wheel and rim. Remove any dirt, debris, or residue that may have built up.
Installing the New Tire
With the wheel and rim inspected and cleaned, it’s time to install the new tire. Follow these steps:
Check the tire for proper size and type
Before installation, ensure the new tire is the correct size and type for your electric bike. Check the sidewall of the tire for the size information, and match it to the specifications of your bike.
Insert the inner tube into the tire
Inflate the new inner tube slightly to give it shape. Insert the valve stem of the inner tube through the valve hole in the rim. Carefully work the rest of the inner tube into the tire, making sure it is evenly distributed.
Carefully align the tire bead with the rim
Position the tire on the rim, lining up one side of the tire bead with the rim edge. Take care to ensure the tire is properly aligned and centered on the rim.
Use your hands to push the bead onto the rim
Starting at the valve stem, use your hands to push the tire bead onto the rim. Work in both directions, pushing the tire bead towards the center of the rim until it is fully seated. Be patient and take care not to pinch the inner tube between the tire and rim.
Check for any pinches or twists in the tube
After the tire is fully seated on the rim, carefully inspect the inner tube for any pinches or twists. Smooth out any wrinkles or folds to ensure the tube is properly positioned.

Reinstalling the Wheel
Now that the new tire is installed, it’s time to reinstall the wheel on your electric bike. Follow these steps:
Insert the axle into the dropouts
Position the wheel with the new tire between the rear dropouts of your electric bike’s frame. Insert the axle into the dropouts, making sure it is fully seated and aligned.
Secure the wheel with the axle nuts
Once the wheel is properly positioned, thread the axle nuts onto the axle and tighten them securely with your wrench. Ensure the wheel is centered in the frame and does not rub against the brake pads.
Check the alignment of the wheel
With the axle nuts tightened, double-check the alignment of the wheel. Spin the wheel and observe if it rotates smoothly without any wobbling or rubbing. Adjust the axle nuts if necessary.
Reattach the brakes
If you released the brakes earlier, now is the time to reattach them. Follow the manufacturer’s guidelines for your specific brake system to ensure proper installation and adjustment.
Inflating the Tire
With the wheel securely installed, it’s time to inflate the new tire to the recommended pressure. Follow these steps:
Attach the hand pump or CO2 inflator
Connect your hand pump or CO2 inflator to the valve on the new inner tube. Ensure a proper fit and tight seal between the pump or inflator and the valve to prevent air leakage.
Inflate the tire to the recommended pressure
Refer to the manufacturer’s recommendations or the sidewall of the tire for the recommended pressure. Inflate the tire gradually, periodically checking the pressure with a gauge until it reaches the desired level.
Check for any leaks
After inflating the tire, carefully inspect the valve and connections for any signs of air leakage. If you notice any leaks, double-check the connection and valve, and make any necessary adjustments or repairs.
Adjust the pressure if necessary
Once the tire is fully inflated, check the pressure again with a gauge. Adjust the pressure as needed to ensure it matches the recommended level for optimal performance and ride comfort.

Final Checks
Before taking your electric bike for a ride, perform some final checks to ensure everything is in order. Follow these steps:
Ensure the tire is properly seated on the rim
Double-check that the tire bead is evenly and fully seated on the rim. Run your fingers along both sides of the tire to ensure there are no areas where the tire is not properly seated.
Check the tire pressure
Verify the tire pressure once more to ensure it matches the recommended level. Use a gauge for an accurate reading and adjust the pressure if necessary.
Test the brakes
Squeeze the brake levers to ensure the brakes engage smoothly and effectively. Check the brake pads for proper alignment and adjust as needed for optimal braking performance.
Clean up and store your tools
After completing the tire changing process, clean up your workspace and store your tools properly. Clean any dirt or debris from your tools and wipe down your electric bike to maintain its appearance.
Additional Tips and Considerations
Here are a few additional tips and considerations to keep in mind when changing an electric bike tire:
Using tire liners or slime for added puncture protection
Consider using tire liners or slime to provide added puncture protection for your electric bike tires. These products help prevent flats by sealing small punctures or adding an extra layer of protection against sharp objects.
Replacing worn-out tires
Regularly inspect your electric bike tires for signs of wear and replace them when necessary. Worn-out tires can affect your bike’s performance and safety, so it’s important to keep them in good condition.
Seeking professional help if uncertain or uncomfortable with the process
If you’re unsure or uncomfortable with changing an electric bike tire on your own, it’s best to seek professional help. A bike shop or qualified technician can assist you and ensure the job is done correctly.
Regularly inspecting and maintaining your electric bike tires
To prolong the life of your electric bike tires and prevent flats, make it a habit to regularly inspect and maintain them. Check for cuts, punctures, or wear, and keep the tires properly inflated to the recommended pressure.
Remember, changing an electric bike tire requires patience and attention to detail. By following these step-by-step guidelines and utilizing the necessary tools, you can confidently replace a flat tire and get back to enjoying your electric bike rides.
