In our E-Bike Maintenance Guide, we’re here to help you fine-tune your derailleur for precise shifting. Whether you’re a seasoned e-bike rider or new to the game, this guide is designed to provide you with expert advice and easy-to-follow guidelines. We’ll walk you through step-by-step methods to ensure your derailleur is perfectly adjusted, resulting in smooth and precise gear changes. Additionally, we’ll recommend specialized cleaning solutions and must-have tools that will keep your e-bike in top condition. Remember, proper maintenance not only improves performance, but also extends the lifespan of your electric bike. So whether you use your e-bike for daily commuting, off-road adventures, or weekend jaunts, this guide is a must-read for responsible e-bike ownership. Get ready to optimize your riding experience and achieve the perfect gear shifts with our E-Bike Derailleur Adjustment Guide.
E-Bike Derailleur Adjustment Guide
Welcome to our comprehensive E-Bike Derailleur Adjustment Guide! In this article, we will take you through the step-by-step process of fine-tuning your derailleur for precise shifting. Whether you’re new to e-bike maintenance or an experienced rider, this guide will provide you with all the information you need to ensure your derailleur is in top shape. Let’s get started!
Understanding the derailleur
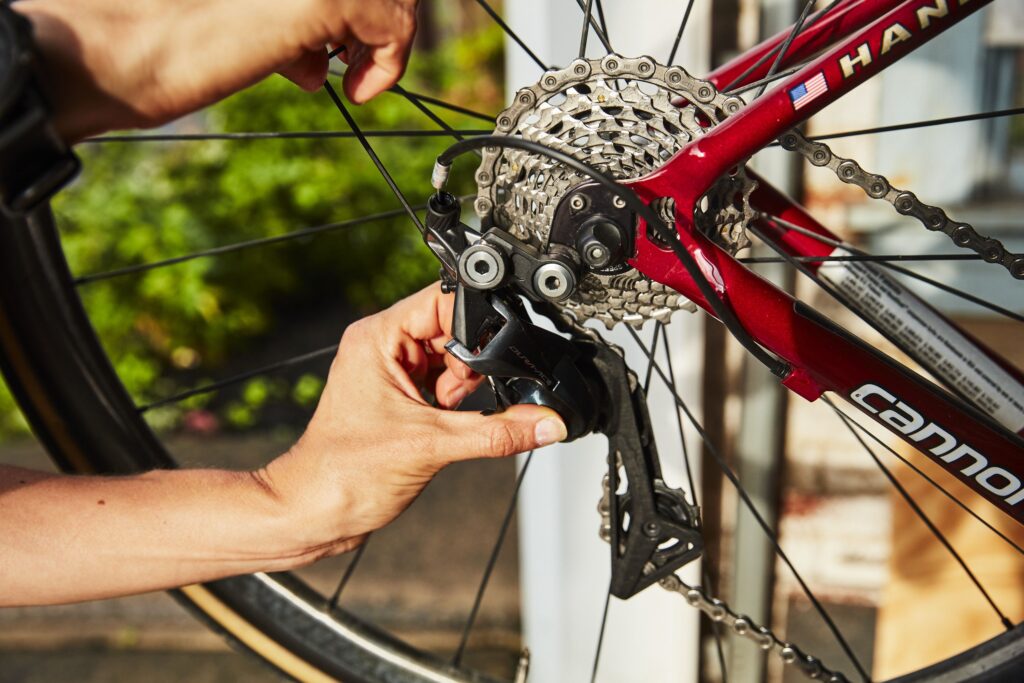
Before we dive into the adjustment process, it’s important to understand the role of the derailleur on your e-bike. The derailleur is responsible for moving the chain between different gears, allowing you to change the gear ratio. It consists of several moving parts, including jockey wheels, limit screws, and a cable, all working together to facilitate smooth and reliable shifting.
Importance of derailleur adjustment
Proper derailleur adjustment is crucial for optimal performance and a smooth riding experience. When your derailleur is not properly aligned or the cable tension is incorrect, you may experience issues such as difficulty shifting, gear slipping, or excessive noise. Adjusting your derailleur ensures that the chain moves smoothly across the gears, allowing for efficient power transfer and preventing premature wear and tear.
Tools needed for derailleur adjustment
Before we start adjusting the derailleur, let’s go over the tools you’ll need. Here’s a list of handy tools to have:
- Phillips screwdriver
- Hex wrench set
- Cable cutters
- Chain lubricant
- Rag or towel
Having these tools on hand will make the adjustment process much easier and more efficient. Now that we’re ready, let’s move on to the next step.
Checking the derailleur alignment
The first step in the derailleur adjustment process is to check the alignment of the derailleur. A misaligned derailleur can lead to poor shifting performance and may even cause damage to the drivetrain. Here’s how to inspect the derailleur alignment:
Inspecting the derailleur hanger
The derailleur hanger is a small piece of metal that connects the derailleur to the bike frame. It’s important to ensure that the hanger is straight and not bent or damaged. To inspect the derailleur hanger:
- Shift the chain to the smallest chainring and the smallest rear cog.
- Stand at the rear of the bike and observe the alignment of the jockey wheels with the smallest rear cog.
- If the jockey wheels are not parallel to the smallest rear cog or if the hanger appears bent or damaged, it may need to be replaced.
Ensuring correct derailleur positioning
Once you’ve inspected the derailleur hanger, it’s time to check the positioning of the derailleur itself. The derailleur should be aligned vertically with the chainrings and horizontally with the cassette. To ensure correct derailleur positioning:
- Shift the chain to the smallest chainring and the smallest rear cog.
- Stand behind the bike and observe the alignment of the jockey wheels with the smallest rear cog.
- If the jockey wheels are not directly under the smallest rear cog, adjust the positioning by loosening the derailleur mounting bolt and making slight adjustments until the alignment is correct.
By checking the derailleur alignment and ensuring correct positioning, you lay the foundation for a properly adjusted derailleur.
Setting the limit screws
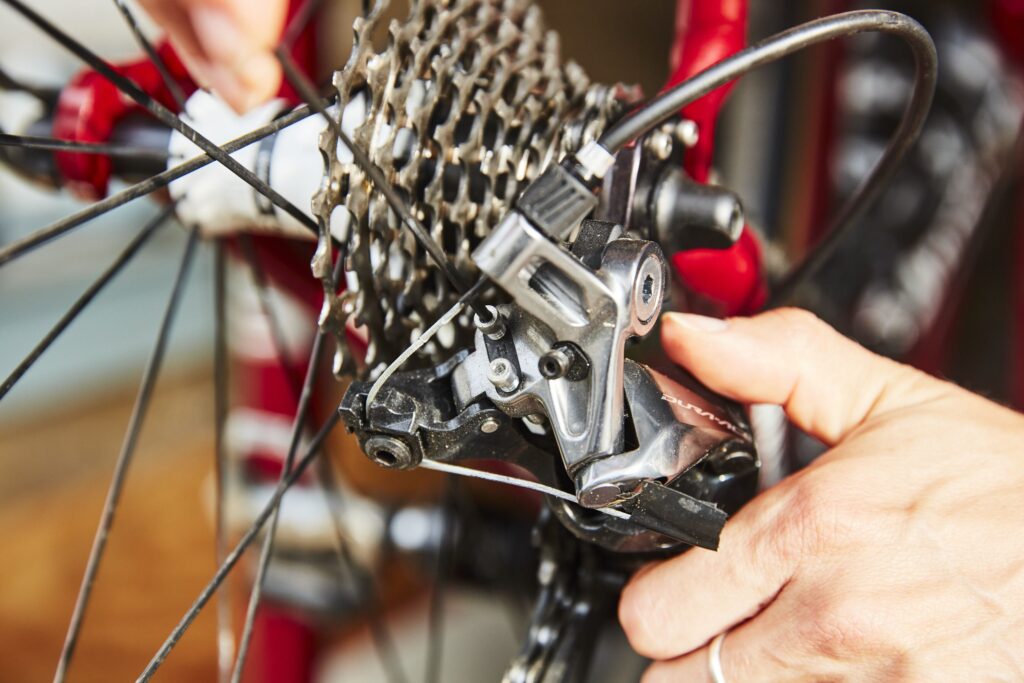
Next, let’s move on to setting the limit screws. The limit screws control the range of motion of the derailleur, preventing the chain from shifting off the cassette or chainrings. It’s important to properly set these screws to avoid any chain-related issues.
Identifying high and low limit screws
The derailleur typically has two limit screws – the high limit screw and the low limit screw. The high limit screw controls the outer limits of the derailleur’s movement, preventing the chain from shifting off the largest rear cog. The low limit screw, on the other hand, controls the inner limits, preventing the chain from shifting off the smallest rear cog.
To identify the high and low limit screws, look for small letters or symbols on the derailleur indicating their positions.
Adjusting the high limit screw
To adjust the high limit screw:
- Shift the chain onto the largest chainring and the smallest rear cog.
- Use a Phillips screwdriver to turn the high limit screw clockwise or counterclockwise, depending on the necessary adjustment.
- Turn the screw until the jockey wheel aligns with the smallest rear cog, ensuring that the chain does not rub against the derailleur cage.
Adjusting the low limit screw
To adjust the low limit screw:
- Shift the chain onto the smallest chainring and the largest rear cog.
- Use a Phillips screwdriver to turn the low limit screw clockwise or counterclockwise, depending on the necessary adjustment.
- Turn the screw until the jockey wheel aligns with the largest rear cog, once again ensuring that the chain does not rub against the derailleur cage.
By correctly setting the limit screws, you establish the boundaries for the movement of the derailleur, ensuring smooth shifting and preventing any chain mishaps.
Adjusting the cable tension
Now that the limit screws are properly set, it’s time to adjust the cable tension. Cable tension affects how quickly and smoothly the chain moves across the gears. Proper adjustment of the cable tension is essential for precise shifting.
Releasing the derailleur cable tension
Before adjusting the cable tension, it’s important to release the tension from the derailleur cable. Here’s how to do it:
- Shift the chain onto the smallest chainring and the smallest rear cog.
- Locate the derailleur cable where it connects to the derailleur and loosen the cable anchor bolt.
- Pull the cable taut and tighten the cable anchor bolt.
Adjusting cable tension using the barrel adjuster
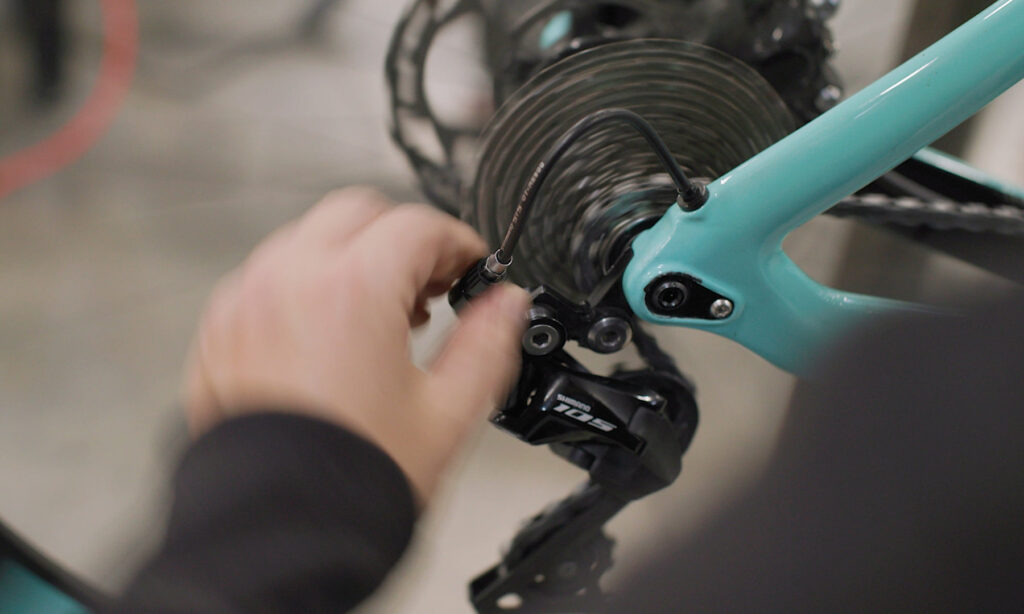
Once the cable tension is released, you can adjust it using the barrel adjuster. The barrel adjuster is typically located where the cable enters the rear derailleur or on the shifter. Here’s how to adjust the cable tension:
- Shift the chain onto the smallest chainring and the smallest rear cog.
- Turn the barrel adjuster clockwise to increase tension or counterclockwise to decrease tension.
- Make small adjustments at a time and test the shifting between gears to ensure smooth transitions.
Fine-tuning cable tension for precise shifting
To fine-tune the cable tension for precise shifting:
- Shift through the gears, ensuring smooth transitions and no chain skipping.
- If you experience any issues, make small adjustments to the cable tension using the barrel adjuster until the shifting is smooth and precise.
By adjusting the cable tension, you ensure that the derailleur moves the chain across the gears accurately, allowing for effortless shifting.
Indexing the gears
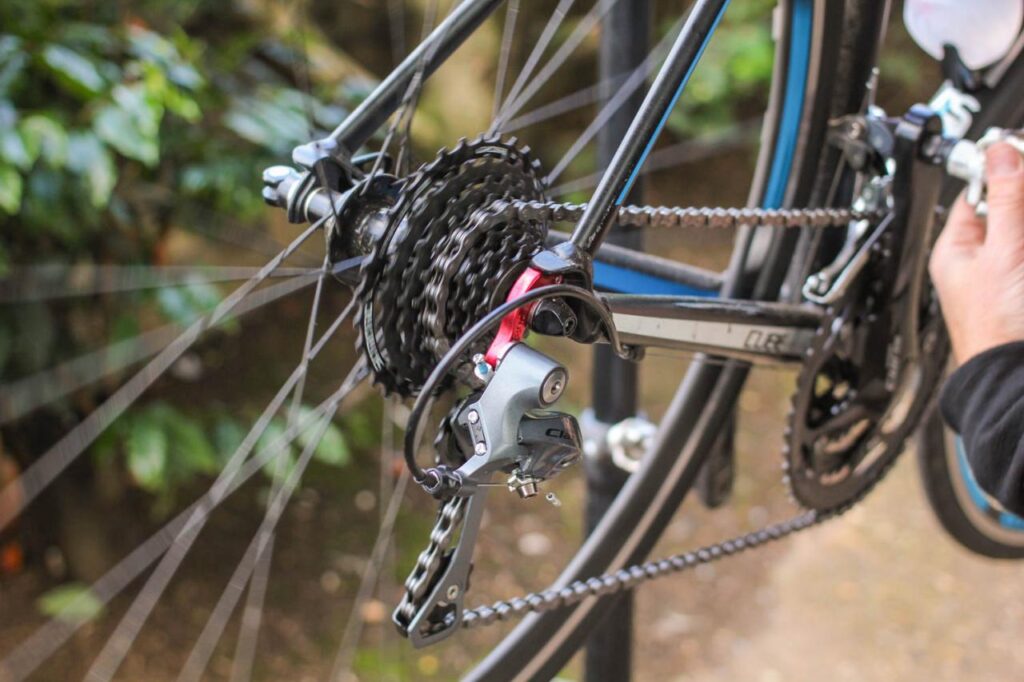
Indexing the gears refers to the process of fine-tuning the alignment of the derailleur with the cassette to ensure smooth shifting across all gears.
Understanding gear indexing
Gear indexing is crucial for consistent and reliable shifting. When the indexing is properly set, each shift feels crisp and precise. If the indexing is off, you may experience skips or delays when shifting gears.
Procedure for indexing the gears
Here’s a step-by-step procedure for indexing the gears:
- Shift the chain onto the smallest chainring and the largest rear cog.
- Using the barrel adjuster, adjust the cable tension until the chain moves smoothly onto the second-to-last rear cog.
- Shift through all the rear cogs, checking for smooth and precise transitions.
- If you experience skipping or delays, make small adjustments to the cable tension using the barrel adjuster until the shifting is smooth across all gears.
Troubleshooting indexing issues
If you encounter issues with indexing despite adjusting the cable tension, it may be necessary to inspect the derailleur hanger again or consult a professional for assistance. Remember, some maintenance tasks may require specialized knowledge or tools beyond the scope of this guide.
Checking and replacing the derailleur hanger
A bent or damaged derailleur hanger can significantly affect the performance of your derailleur. It’s important to regularly check the hanger and replace it if necessary.
Signs of a bent or damaged derailleur hanger
Signs of a bent or damaged derailleur hanger include:
- Difficulty shifting or inconsistent shifting performance
- Excessive noise or rubbing of the chain against the derailleur cage
- Chainsuck or the chain getting caught between the chainrings
- Visible bends or cracks on the derailleur hanger
Removing and inspecting the derailleur hanger
To remove and inspect the derailleur hanger:
- Shift the chain onto the smallest chainring and the smallest rear cog.
- Use a hex wrench to loosen the derailleur hanger bolt.
- Carefully remove the derailleur hanger from the bike frame and inspect it for any signs of damage.
Replacing the derailleur hanger
If the derailleur hanger is bent or damaged, it’s essential to replace it with a new one. Consult your bike manufacturer’s guidelines or seek professional assistance to ensure you choose the correct derailleur hanger for your e-bike.
Cleaning and lubricating the derailleur
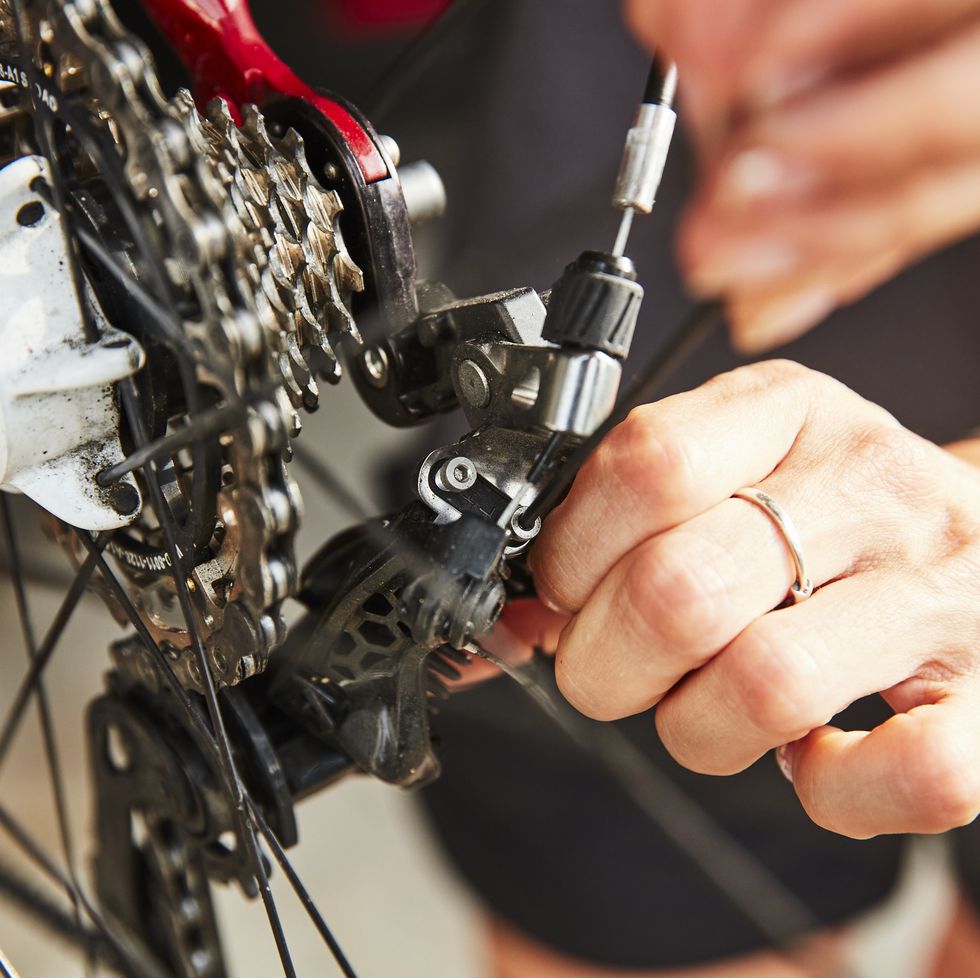
Regular cleaning and lubrication of the derailleur are essential for maintaining optimal performance and prolonging its lifespan.
Removing dirt and grime from the derailleur
To remove dirt and grime from the derailleur:
- Apply a gentle degreaser or specialized cleaning solution to a rag or towel.
- Gently wipe down the derailleur, ensuring that all surfaces and moving parts are cleaned.
- Use a brush or toothbrush to reach into crevices and remove stubborn dirt.
Applying lubrication to moving parts
Once the derailleur is clean, it’s time to lubricate the moving parts:
- Apply a few drops of chain lubricant to the jockey wheels and pivot points.
- Allow the lubricant to penetrate for a few minutes.
- Wipe off any excess lubricant with a clean rag or towel, ensuring that the derailleur is not overly greasy.
Regular cleaning and lubrication will prevent dirt buildup, reduce friction, and ensure smoother shifting performance.
Maintaining the jockey wheels
The jockey wheels play a crucial role in guiding the chain across the gears. Proper maintenance of the jockey wheels is vital for smooth and efficient shifting.
Inspecting the jockey wheels
Regularly inspect the jockey wheels for signs of wear or damage. Look for:
- Excessive wear on the teeth of the jockey wheels
- Loose or damaged jockey wheel bearings
- Bent or misaligned jockey wheel cage
Cleaning and lubricating the jockey wheels
To clean and lubricate the jockey wheels:
- Remove the jockey wheels from the derailleur cage using a hex wrench.
- Clean the jockey wheels using a rag or towel soaked in degreaser or specialized cleaning solution.
- Apply a few drops of chain lubricant to the jockey wheel bearings and pivot points.
- Reinstall the jockey wheels onto the derailleur cage and ensure they spin freely.
Replacing worn-out jockey wheels
If the jockey wheels are excessively worn or damaged, it’s best to replace them with new ones. Consult your bike manufacturer’s guidelines or seek professional assistance to ensure compatibility and proper installation.
Preventing derailleur damage
Taking proactive measures to prevent derailleur damage can save you from unnecessary maintenance and repairs. Here are a few tips to help prevent derailleur damage:
Avoiding impacts and collisions
To avoid derailleur damage due to impacts or collisions:
- Be cautious when riding over rough terrain or obstacles.
- Avoid accidental drops or impacts against curbs, rocks, or other objects.
- Maintain a safe distance from other riders to minimize the risk of collisions.
Protecting the derailleur during transport
When transporting your e-bike, it’s essential to protect the derailleur from potential damage. Consider the following measures:
- Use a padded bike bag or case when traveling with your e-bike.
- Remove the derailleur and securely pack it separately, especially when using a bike rack or traveling by plane.
- Use a derailleur guard or protector to shield the derailleur from impacts during transport.
By being mindful of potential impacts and taking precautionary measures during transport, you can significantly reduce the risk of derailleur damage.
Professional help and periodic servicing
While many derailleur adjustments can be performed at home, it’s important to acknowledge that some tasks may require professional assistance. Additionally, periodic servicing by a qualified bike mechanic is recommended to ensure the overall health and performance of your e-bike.
Tasks best left to professionals
Tasks that are best left to professionals include:
- Derailleur hanger alignment or replacement
- Complex gear indexing issues
- Internal cable routing or replacement
- Major drivetrain repairs or replacements
A professional bike mechanic has the expertise, specialized tools, and knowledge to tackle these more intricate tasks effectively and safely.
Recommended frequency of professional servicing
Regular professional servicing is crucial for maintaining the optimal performance and longevity of your e-bike. The frequency of servicing may vary depending on factors such as riding conditions and intensity. However, a general guideline is to have your e-bike serviced at least once a year or every 1,000 miles, whichever comes first.
By following this recommended frequency, you can address any potential issues promptly and ensure that your e-bike is always in top shape.


