Are you a proud electric bike owner looking to keep your ride in top shape? Our comprehensive maintenance guide is here to help you troubleshoot any electrical issues that may arise with your electric bike. Whether you’re a beginner or an experienced rider, our articles are designed to provide easy-to-follow guidelines and expert advice. We’ll walk you through step-by-step methods and even recommend specialized cleaning solutions and essential tools, which can conveniently be purchased through our affiliate partners. Remember, proper maintenance not only improves performance but also prolongs the lifespan of your e-bike. So, whether you’re a daily commuter, an off-road enthusiast, or a weekend adventurer, check out our guide to tackle those common electrical issues and get back on the road with confidence!

Common Electrical Issues on Electric Bikes
Welcome to our comprehensive guide on troubleshooting common electrical issues on your electric bike. Owning an electric bike can bring joy and convenience to your daily commute or leisurely rides, but like any other piece of machinery, it can encounter problems from time to time. In this article, we will walk you through the most common electrical issues that you may face and provide you with step-by-step solutions to help you get your e-bike up and running again.
Checking the Battery
Inspect the Battery Connections
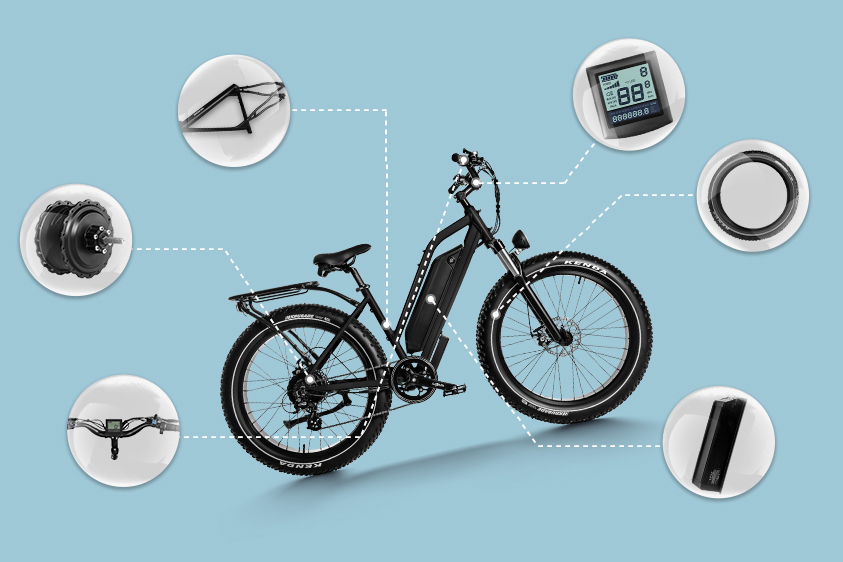
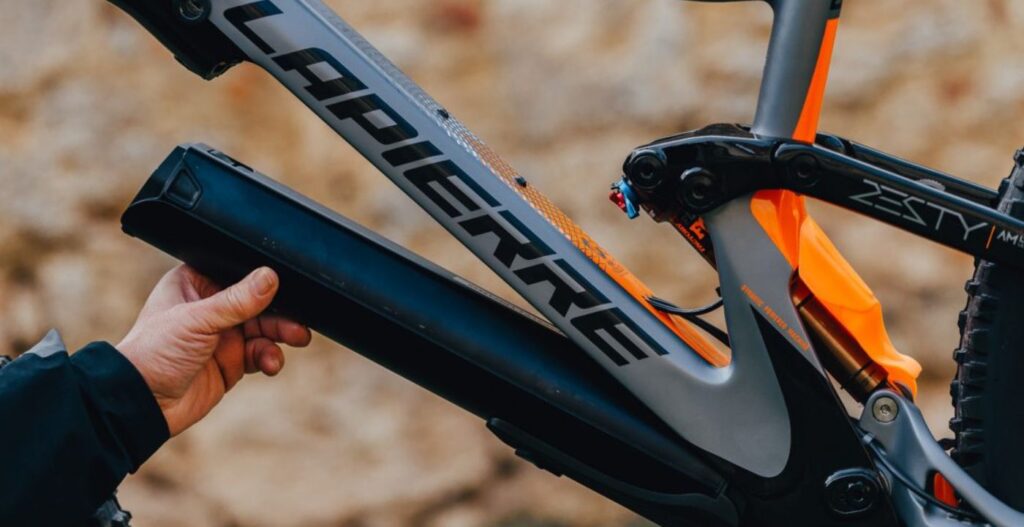
The first step in troubleshooting any electrical issue on your electric bike is to inspect the battery connections. Ensure that the connectors are clean, free from corrosion, and securely connected. Loose or dirty connections can cause poor electrical contact, leading to a decrease in battery performance.
Check the Battery Voltage
Next, check the battery voltage to determine its current state of charge. You can use a multimeter to measure the voltage output. Compare the measurement to the manufacturer’s recommended voltage range for your specific battery model. If the voltage is significantly lower than normal, it may be time to consider replacing the battery.
Test the Battery Charger
To ensure that your battery charger is functioning properly, you can perform a simple test. Connect the charger to the battery and observe the charging process. If the charger is not working or if the battery does not charge fully, it may be a sign of a faulty charger that needs to be replaced.
Consider Battery Replacement
If you have inspected the connections, checked the voltage, and tested the charger, but your battery still does not perform as expected, it may be time to consider battery replacement. Over time, batteries can degrade and lose their capacity to hold a charge. Consult with a professional or refer to your e-bike manufacturer’s guidelines for the appropriate replacement battery for your specific model.
Assessing the Electric Motor
Check Motor Connections
When encountering electrical issues with your electric bike, it is crucial to inspect the motor connections. Loose or damaged connections can disrupt the flow of electricity and affect the motor’s performance. Ensure that all motor connectors are securely plugged in and free from any dirt or debris.
Verify Motor Functionality
To determine if your electric motor is functioning properly, you can perform a quick test. Turn on your e-bike and listen for any abnormal noises coming from the motor. Additionally, check if the motor engages consistently and provides sufficient power. If you notice any unusual sounds or experiences inconsistent performance, it may be an indication of a motor problem that requires further attention.
Test Motor Controller
The motor controller plays a vital role in regulating the power supplied to the motor. To test the motor controller, you can connect it to a separate battery source and observe if it successfully controls the motor’s speed and power output. If the motor controller fails to function correctly, it may need to be repaired or replaced by a professional.
Examining the Controller
Inspect Controller Connections
The controller is the control panel of your electric bike, responsible for managing various functions such as power output and speed control. Ensure that all connections to the controller are tight and secure. Loose connections may result in a loss of functionality or erratic behavior.
Check Controller Settings
Check the settings on your controller to ensure they are properly configured. Incorrect settings can lead to issues such as reduced power or speed limitations. Consult your e-bike’s user manual or contact the manufacturer for guidance on the optimal controller settings for your specific model.
Test Controller Functionality
To test the functionality of your controller, take your e-bike for a test ride and observe how it responds to different speed and power settings. If you notice any inconsistencies or unexpected behavior, it may be an indication of a controller problem. In such cases, it is best to seek assistance from a professional for further diagnosis and repair.

Inspecting the Wiring
Look for Loose or Frayed Wires
Inspect the wiring on your electric bike for any loose or frayed wires. Vibrations during rides or accidental damage can result in wire disconnections or damage. Carefully examine all visible wires, paying close attention to areas where they may be exposed to external forces or rubbing against other components.
Check Wire Connections
Ensure that all wire connections are secure and properly connected. Loose or disconnected wires can cause electrical issues and compromise the overall functionality of your e-bike. Use your hands to gently tug on the wires to check for any signs of movement or looseness.
Test for Continuity
To ensure the continuity of your wiring system, you can use a multimeter to check for proper electrical connections. Follow the manufacturer’s instructions on how to perform a continuity test and check each wire individually. Any interruptions in continuity may indicate a damaged wire that needs to be repaired or replaced.
Repair or Replace Damaged Wires
If you find any loose, frayed, or damaged wires during your inspection, it is essential to address them promptly. Depending on the extent of the damage, you may be able to repair the wires yourself using electrical tape or heat shrink tubing. However, severe damage may require replacing the entire wire or seeking professional help.
Troubleshooting the Throttle
Check Throttle Connections
The throttle is responsible for controlling the speed and power output of your e-bike. Make sure that the throttle connections are clean, secure, and free from any dirt or debris. Any loose or dirty connections can result in unreliable throttle performance.
Test Throttle Functionality
To test the functionality of your throttle, turn on your e-bike and gradually increase the throttle’s position. Observe how the motor responds to the throttle input. If the throttle is unresponsive or provides inconsistent power output, it may indicate a faulty throttle that needs to be repaired or replaced.
Adjust Throttle Settings
If your throttle is working but not providing the desired power output or speed, you may need to adjust the throttle settings. Refer to your e-bike’s user manual or consult with the manufacturer for instructions on how to adjust the throttle sensitivity or power levels according to your preferences.

Evaluating the Display Panel
Inspect Display Connections
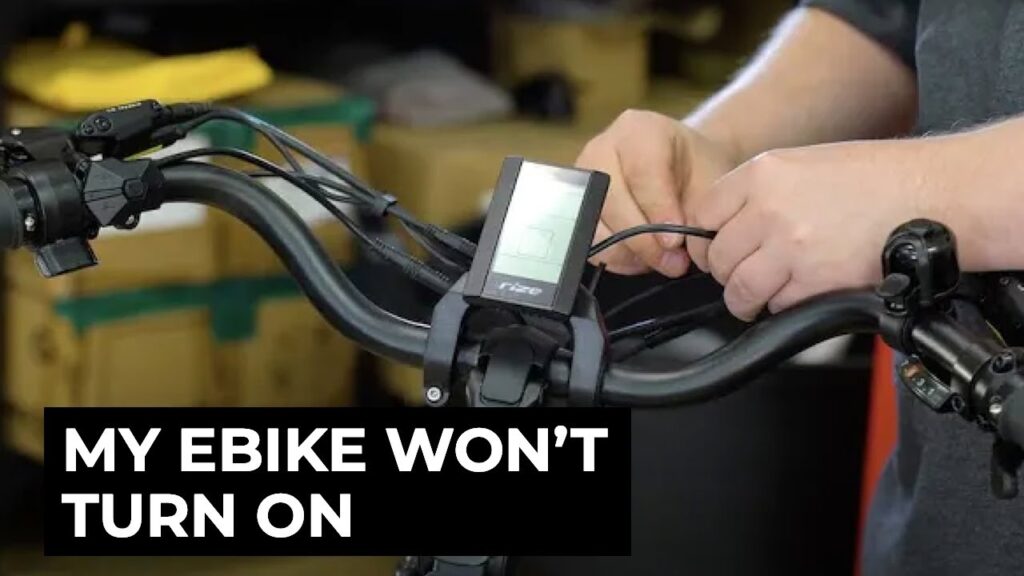
The display panel on your electric bike provides valuable information regarding battery level, speed, and other vital functions. Inspect the connections between the display panel and the controller to ensure they are secure and properly connected. Loose connections can result in inaccurate data display or a non-functional display panel.
Test Display Panel Functionality
Turn on your e-bike and verify if the display panel is working correctly. Check if all the displayed information is accurate and if you can navigate through different menus and settings without any issues. If you notice any anomalies or the display panel fails to function properly, it may require troubleshooting or replacement.
Reset Display Settings
If you experience any display-related issues, a simple solution to try is resetting the display settings. This can be done through a designated reset option in the settings menu or by disconnecting and reconnecting the display panel. Refer to your user manual or contact the manufacturer for specific instructions on how to reset the display settings for your e-bike model.
Verifying the Pedal-Assist System
Check Pedal Sensor Connections
The pedal-assist system on your electric bike relies on a sensor that detects your pedaling motion to determine how much power the motor provides. Inspect the connections between the pedal sensor and the controller to ensure they are securely connected. Loose or dirty connections can result in inaccurate pedal-assist functionality.
Test Pedal-Assist Functionality
Take your e-bike for a ride and observe how the pedal-assist system responds to your pedaling motion. Check if the power output and assistance levels are in line with your expectations. If you notice any inconsistencies or a complete lack of pedal assistance, it may be an indication of a faulty pedal sensor that needs attention.
Calibrate Pedal-Assist Settings
If your pedal-assist system is not performing as desired, it may require calibration. Consult your e-bike’s user manual or contact the manufacturer for instructions on how to calibrate the pedal-assist system. Calibrating the system can help ensure accurate power delivery and a smooth riding experience.

Addressing Brake Sensor Issues
Inspect Brake Sensor Connections
Brake sensors on electric bikes are crucial for safety, as they disengage the motor when the brakes are applied. Inspect the connections between the brake sensors and the controller to ensure they are properly connected and free from any dirt or debris. Loose or dirty connections can result in improper motor disengagement when braking.
Test Brake Sensor Functionality
Perform a test ride and apply the brakes to verify if the brake sensor system is functioning correctly. Check if the motor disengages promptly when the brakes are applied and re-engages smoothly when released. If you experience any delays or inconsistencies in the motor disengagement, it may be necessary to adjust or replace the brake sensor.
Adjust Brake Sensor Settings
If your brake sensor system is not responding as desired or if there are delays in motor disengagement, you may need to adjust the brake sensor settings. Refer to your e-bike’s user manual or consult with the manufacturer for instructions on how to adjust the brake sensor sensitivity or engagement levels.
Seeking Professional Help
When to Consult a Bike Mechanic
While many electrical issues on electric bikes can be resolved through troubleshooting and basic maintenance, some problems may require the expertise of a professional bike mechanic. If you encounter any issues that you are not confident in dealing with or if the troubleshooting steps outlined in this article do not resolve the problem, it is recommended to seek assistance from a qualified professional.
Choosing a Qualified E-Bike Technician
When selecting a professional e-bike technician, it is important to choose someone with experience and expertise in electric bikes. Look for certifications or qualifications that demonstrate their knowledge in diagnosing and repairing electric bike electrical issues. Ask for recommendations from other e-bike owners or consult with your local bike shop to find a reputable technician who can provide the necessary services for your e-bike.
In conclusion, by following the troubleshooting steps and guidelines outlined in this article, you can diagnose and resolve common electrical issues on your electric bike. Remember that regular maintenance is key to keeping your e-bike in optimal condition, ensuring better performance and longevity. However, always exercise caution and seek professional help when in doubt or when dealing with complex electrical problems. Happy riding!


